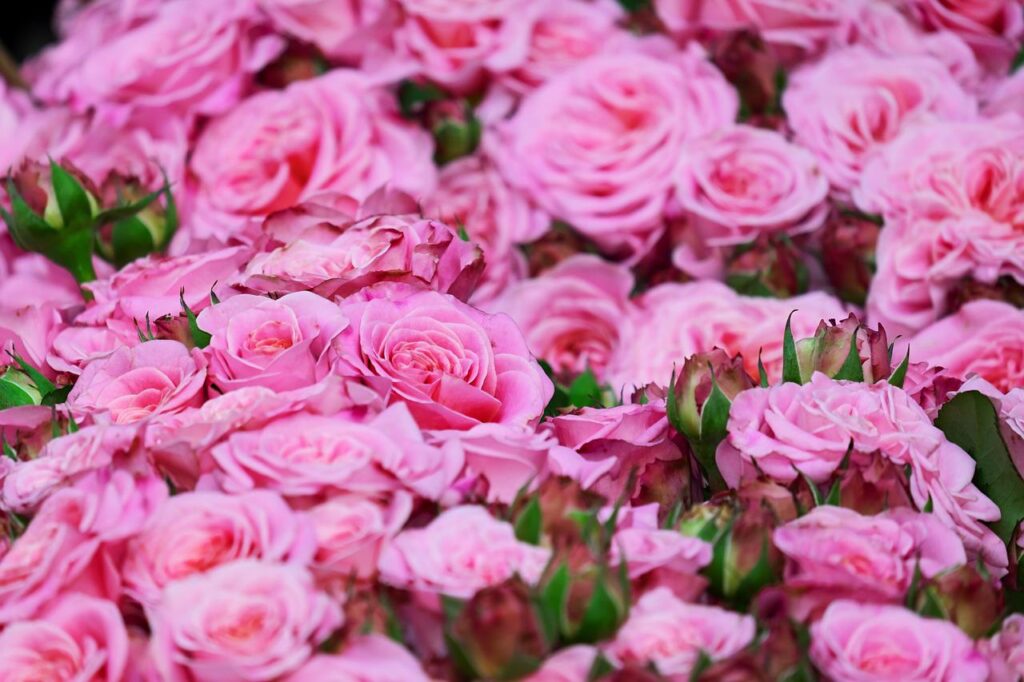
Roses are perennials that originate in Asia, and can last for years in your garden if cared for.
There are many types of roses: dwarf, tall, climbing, and thorny.
There are also about 250 different varieties of roses and they are all characterized by a flower at the end of the branch.
They can be grown in the soil and in flowerpots.
Some varieties, especially those with large flowers, bear a single flower at the end of the branch.
The others mostly carry a few flowers at the end of each branch.
There are roses that bloom once a year, But most varieties bloom throughout the summer between spring and next winter, in several flowering waves.
Rose groups and their features:
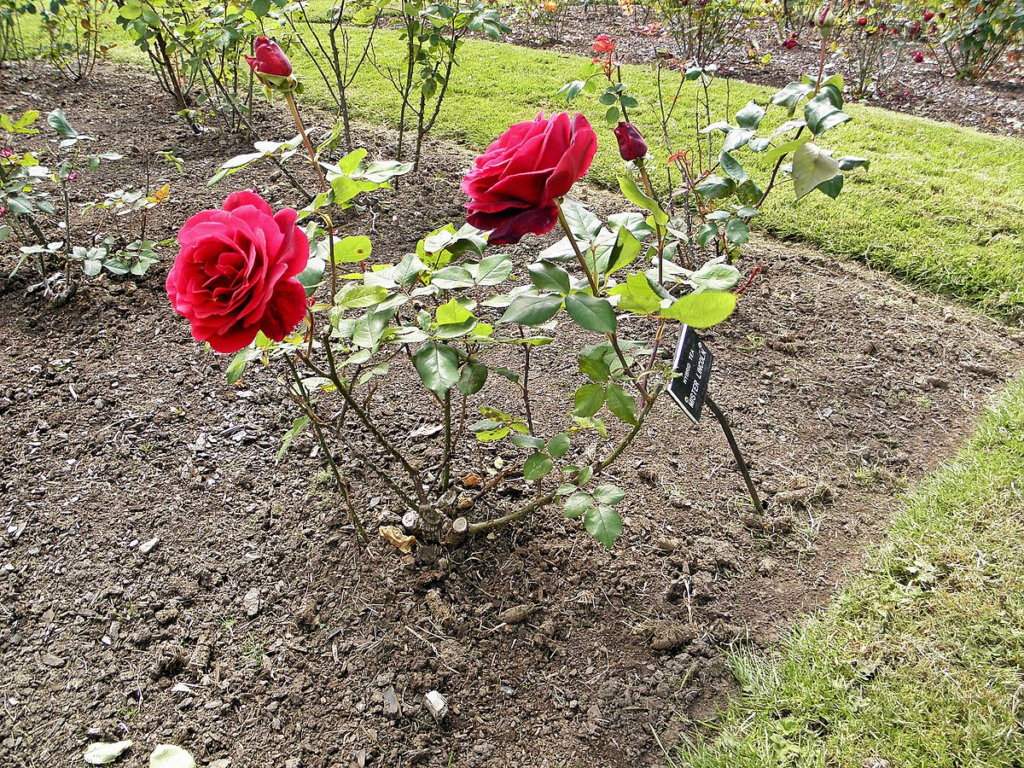
Tea hybrid
Usually, a single large flower on a stalk, a full and fragrant tuber suitable for picking.
Planting distances 0.8-1.2 m, the height of the seedlings up to 1.5 meters.
The tea hybrids were created from rose hybrids brought by the tea merchants from the Far East, hence the name of this group.
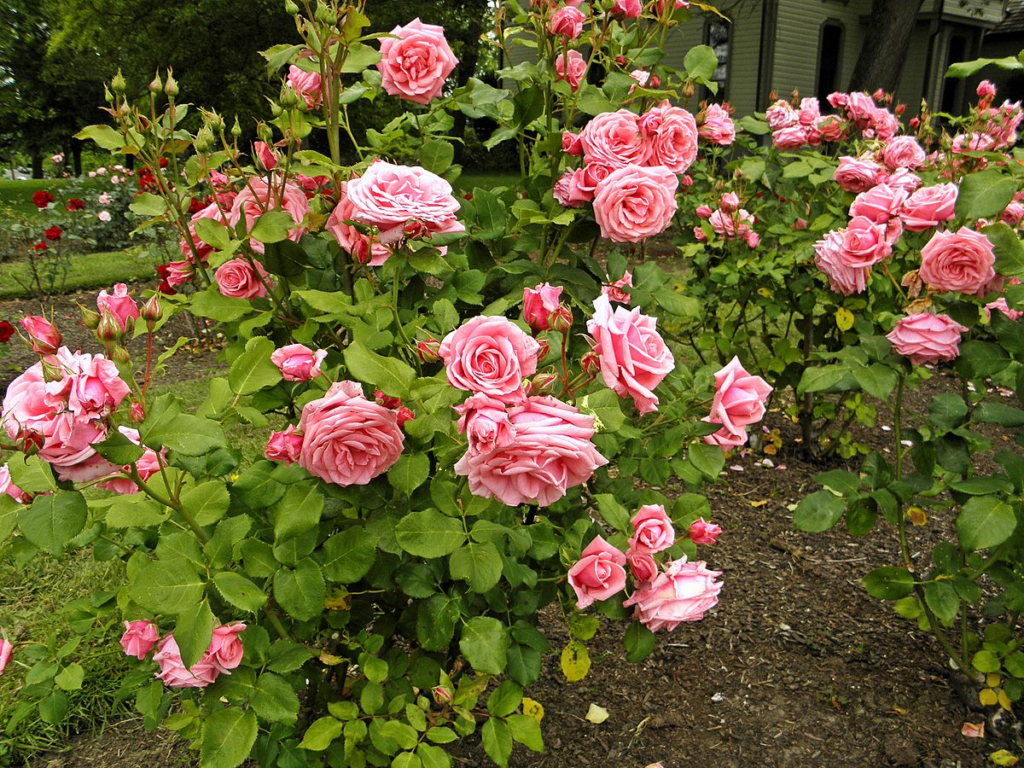
Floribunda rose
Flowering with cluster of tubers per stem.
The tubers are usually incomplete.
There are several varieties with full tubers that are also suitable for harvesting.
It is recommended to plant them in groups to create a color stain.
Planting distances 0.8-1m, shrub height between 0.6-1.2m.

Dwarf Rose
The flowers are very small with abundant flowering in groups.
Planting distances 0.5-0.7m.
The shrubs are low and reach a height of 30-70 cm.

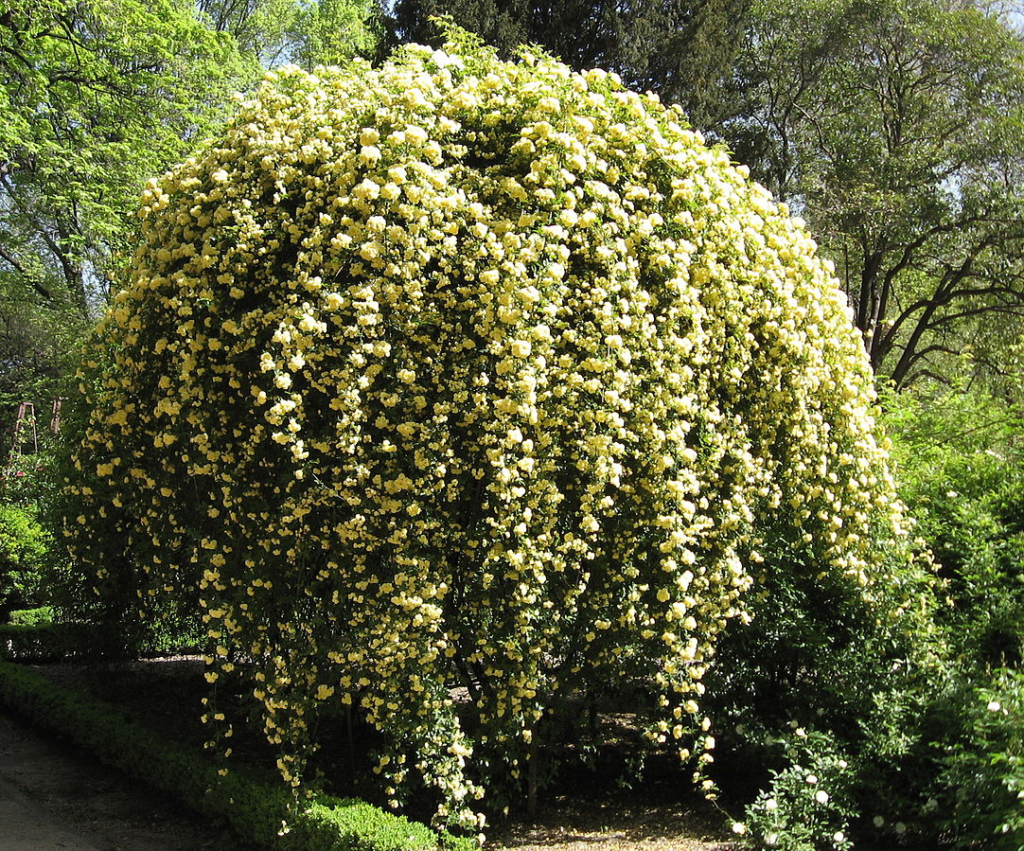
Rose Banksy (Rosa banksiae)
The plants are up to 50 cm high.
Long sticks that reach 1.5 m with a flower along the entire length of the stick.
Very suitable for covering area, rocks and slopes.
Planting distances 1-2.5 cm.
Climbing rose
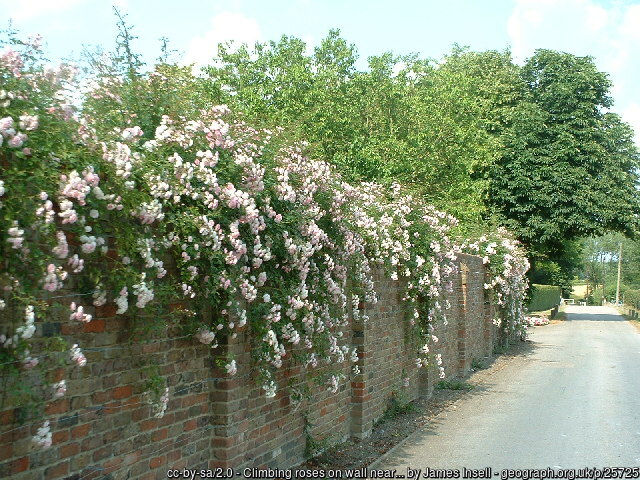
The growth reaches a height of up to 3 m, with long sticks that bloom along their entire length.
Flower quality depends on the group to which the climber belongs.
Suitable for covering walls, columns and fences, can also be designed on pergolas or columns.
Planting distances 2-3m.
The “cover roses” group and the “climbers” group should not be pruned for the first three years, sometimes thinning arms, so most of them are suitable for low maintenance.

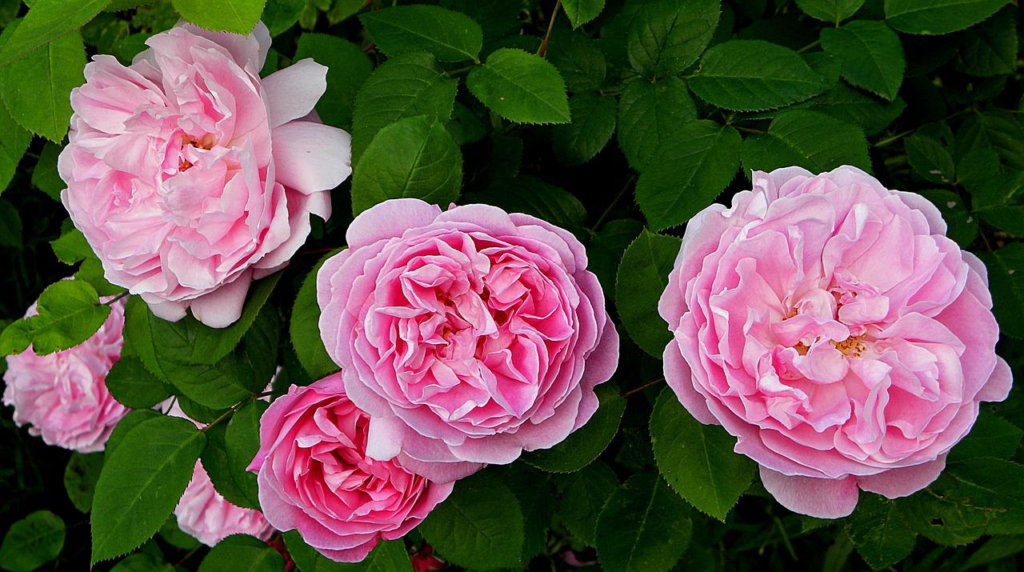
English rose
Outstanding in their growth intensity, special aroma, full tuber with a large number of small, curly petals.
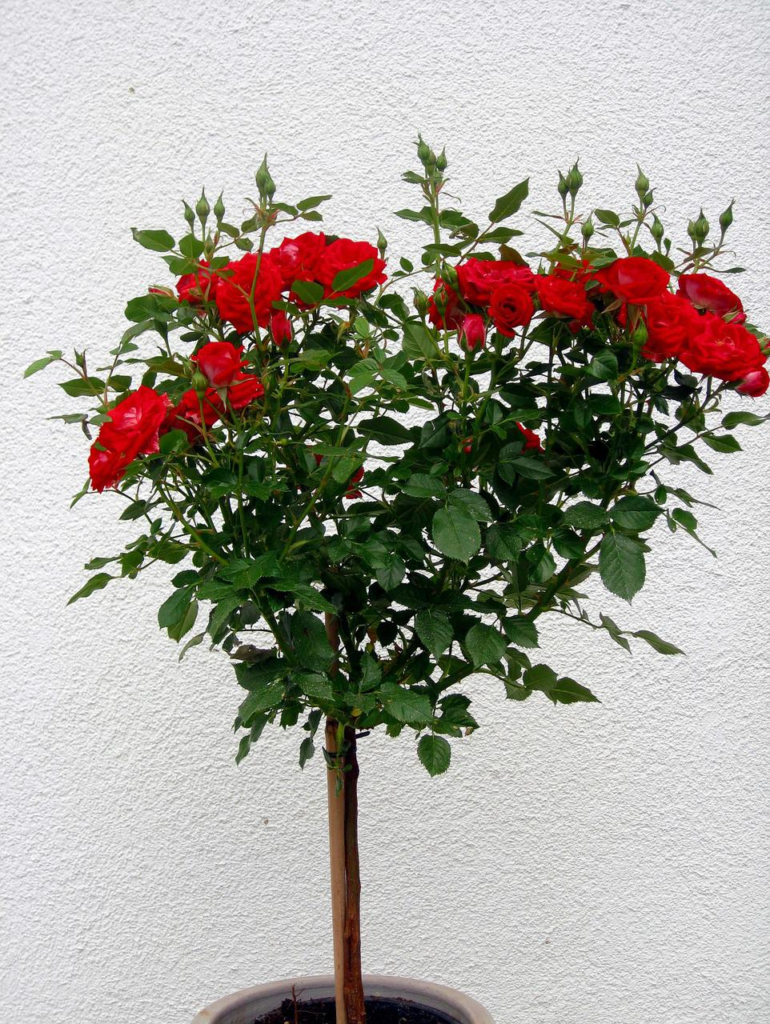
Roses shaped on a stem:
Tree-like roses assembled on a pedestal 0.6-1.2m high.
Suitable for planting in a central place in the garden or by the sidewalks.

During the winter, most roses go into a coma, and are not flourishing, and in the spring, the tubers break out and bloom at the end of each branch.
Here are some rose growing recommendations that can extend the life of a rose and its duration of flowering:
Light-
When it comes to sun levels, it is always important to check before choosing the planting area of the plant.
Roses love full sun, if you want to plant them under a tree or shade net make sure that there is no blockage of more than 30% from sunlight.
If planted in a shady place, it may not reach flowering at all.
A rose planted in the place with sun – will bloom more beautifully.
Lack of sunshine reduces the number of flowers and their flowering time and may even cause hypersensitivity to diseases and rot.
Watering –
Roses love a lot of water and in an orderly manner and need about 1 gallon a day for a pot in summer and even in winter it should be watered a lot.
It is recommended to connect the rose pots to the garden watering computer in order for the watering to be arranged according to a plan that helps prevent water shortages or create excess water that causes the leaves to fall out.
Drip irrigation that does not wet the rose petals should always be preferred, and not in sprinklers.
Fertilization –
The roses should be fertilized in an orderly way twice a year.
The fertilization period is in the spring until the beginning of summer.
It is recommended to fertilize at the beginning of the bloom with slow-release fertilizer.
The recommended fertilizers for roses are fertilizers that contain nitrogen, phosphorus, and potassium, such as 20.20.20 fertilizer which is an extremely versatile and effective fertilizer.
Encourages healthy growth.
A balanced formula suitable for a huge variety of plants and trees.
Can be dissolved in irrigation water or spread directly on the ground.
Provides all the essential nutrients for the plant.
Available to the plant immediately upon application.

If you are fertilizing with granular fertilizer, spread it below the drip line so that it disintegrates and reaches the roots.
It is advisable to spread compost around, about 5 cm from the ground, and after spreading the compost cultivate it into the ground.
Pruning –
Usually pruning will be done at the end of winter in late January – February (with the appearance of the buds), in the summer it should be pruned immediately after flowering.
In winter – if the winter was mild, you can postpone pruning, but it is recommended to cut weak branches.
It is recommended to prune in the center of the rose in order for more light to enter and thus develop better.
A sharp pair of secateurs should be used which will reduce the possibility of pests and fungi penetrating through the cut, as opposed to a flat pair of scissors. Using thick gloves and pruning ointment to anoint the cuts, are advised.
Summer pruning
If we prune until a dead area in the branch, about where the leaves carry 7 small leaves, we will encourage emergence of new buds (located in the lap of the leaves) and continues of more branching and branch growth.
New branches will usually, after a few weeks, lead to another wave of blooming.
Pruning is done above the bud, at a distance of 3-5 mm and diagonally descending from the eye at 45 degrees to the other side of the branch.
Winter pruning
In the winter season the growth of the rose stops, until the end of winter.
It could be as early as January or as late as May, depending on your climate.
This is the time each year, to determine the rose plant skeleton and the growth that will develop from it.
One can know that the rose begins to wake up when the buds (growth tubers) begin to swell.
The pruning is done in 5 steps to ensure that you act correctly and extend the life of the plant:
- Get to know the nature of the rose you intend to prune.
Identify the condensed place of the grafting place, called the “grafting point”.
Notice the age of the branches coming out of the “grafting point” according to the color of the thorns.
In a young branch, their color is green or reddish (according to the variety of rose).
In a maturing branch, the color of the thorns is dark brown.
Then, their color becomes light brown and the branch is still alive and allows buds to form.
A good branch has brown thorns.
After about two years, the color of the thorns becomes gray-silver and finally a murky white and the vitality of the buds decreases greatly.
According to the rule: “A branch that is pruned is gone – and will never return,” indicate which essential branches will not be removed.
2. Prune and remove the ends of tall branches, dry branches, thin water branches (too young), so that you will be able to re-examine the structure of the skeleton.
My preferred arms are thick branches that do not look dry and old.
3. Cut the growing branches from the assembly and make sure to leave 3 to 6 healthy and vital branches, like you marked at the beginning.
At least some of them will be “young” who will replace the “old”, in next season.
The branches selected for the skeleton will not intersect and will, as far as possible, be pointed out in the shape of a cup.
The desired shape of the bush is a kind of cup with 3-5 arms, the center of which is exposed to light.
4. Shorten the skeletal branches, at several heights from the ground and not at one level.
The low ones will be at least in the height of a pair of scissors, above the “grafting point”.
The top bud in any branch left, will be the one facing outwards.
5. Last treatment. Remove remnants of branches and lugs from the “grafting point”.
At this point all the leaves left on the shrub should be removed, to help the plant get through the winter hibernation, and also because these leaves are a source of disease and pests.
Apply the incision site with pruning ointment to prevent dryness and disease from penetrating the wounds.
The flowering after the winter pruning begins about two months after.
Therefore, pruning the roses in the garden at time differences also creates the differences in the appearance of the blooming.
Climbing roses tend to bloom so that in the first year there are few flowers and in the following year, more.
For them, do not cut the entire branches down to the “grafting point”.
It is possible in a year of many flowers to minimize the cutting of the branches.
And in the year after, after the blooms you can prune more.
In case of doubt, of the necessity of a branch, it is better to leave it (!) And refer to it later in the flowering season or next winter season.
As stated, “a branch that is pruned is gone — and will not return”
Do not prune climbing roses for the first 3 years.
Flowers that have finished flowering should be pruned to encourage new flowering.
Place, conditions and Instructions for planting roses:
Roses should be planted in spring, around the middle of May.
They should be planted in drained and ventilated soil at a depth of at least 50 cm.
The roses should not be placed under trees or other perennial shade.
They need at least 5 hours of direct sunlight a day.
Avoid placement near sprinklers, to prevent various leaf diseases.
The height of the mounting apple should be about 5 cm above the ground.
The planting points should be marked according to the planting distances of the group to which the seedlings belong and dig pits with a diameter of 40x40x40 cm.
Planting distances: tea hybrids at least 0.8 m, floribunda 0.7 m, dwarfs 0.4 m, climbers 1.5 m.
It is recommended to mix the planting soil that is removed from the pit with compost, in a ratio of 1/4 compost + 3/4 soil, in order to prevent burning of the roots.
Post-planting care:
For the first two weeks, until the buds burst, water once a day, preferably in the morning.
The average amount for irrigation is 5 liters per day.
After the buds burst, watering can be reduced to every two to three days, depending on the weather.
Physical shock to the seedling should be avoided and the primary bloom should be protected from pests.
When the blooming stems reach a length of 20 cm or when the tuber is the size of a grain of rice, the tuber or the stem of the stalk should be crushed with two fingers at the top.
This action leads to branching of stems, balancing the seedling and creating a basis for the growth of stems for flowers in the future.
Rose diseases
The diseases are caused by fungi and bacteria.
They develop mainly in high humidity conditions around the leaves of the plant.
Therefore, watering leaves should be avoided during irrigation.
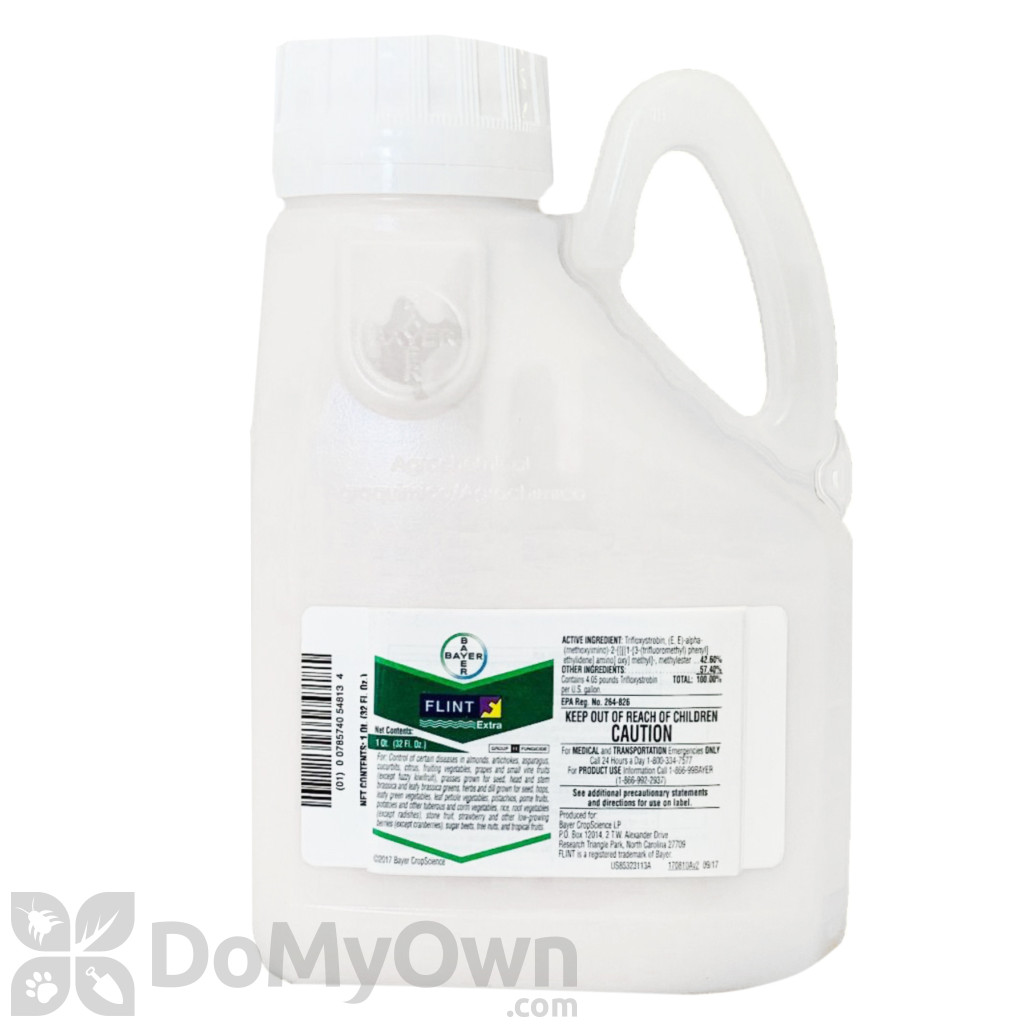
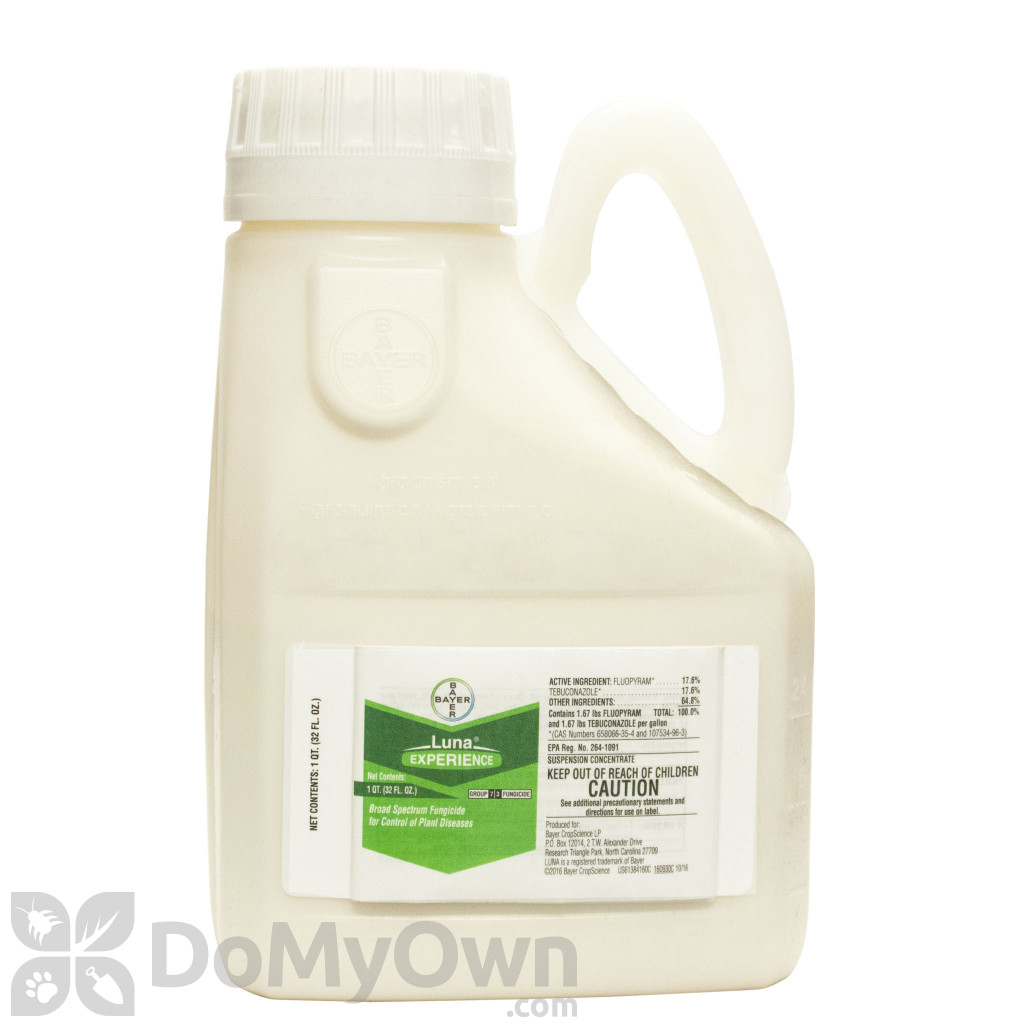
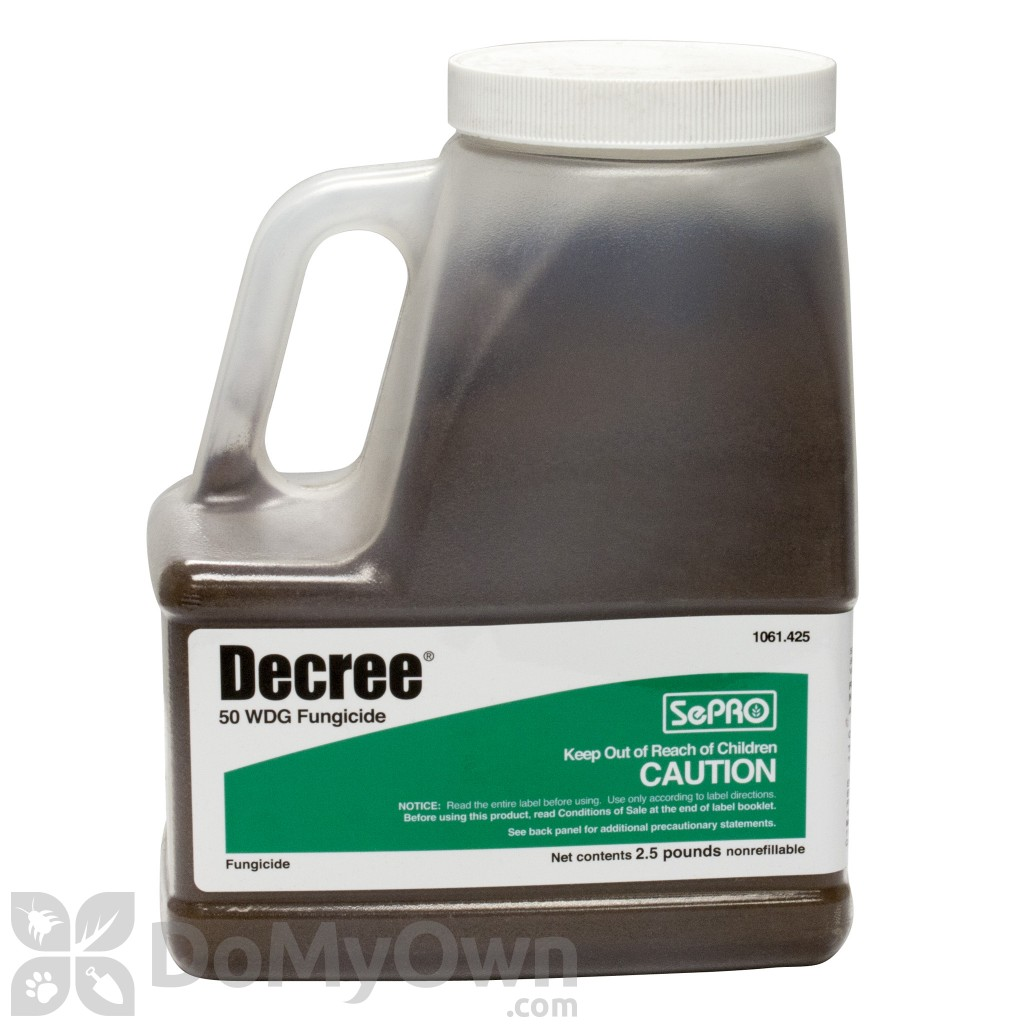
Powdery mildew –

A fungus that first appears as white powdery spots on the leaves.
In severe damage, other green parts (buds, stems) are damaged and the leaves turn yellow, shrink and fall off.
Recommended treatment:
Chemical:
Organic:
Rust –

A fungus that causes yellow-orange spots to appear on the edges of the leaves.
Over time they may take on shades of brown or gray.
Occasionally there may be dark brown spots that are not continuous at the beginning of the leaf.
When touching an infected plant, the whole hand fills with orange/rust powder.
Recommended treatment:
Chemical:
Organic:
Soot –

A secondary development of a fungus on leaves that were first damaged by sucking aphids, looks like a layer of soot, especially in the shadier parts of the plant.
Recommended treatment:
wiping to remove the soot and then spraying against the rust and additional sprays against aphids (see below).
Downy mildew –
Brown spots appear on the bottom and top of the leaf.
Their color is orange-yellow.
The leaf turns yellow in part, and on the back a delicate gray mycelium develops which leads to leaf fallout.
Recommended treatment:
Chemical:

Organic:

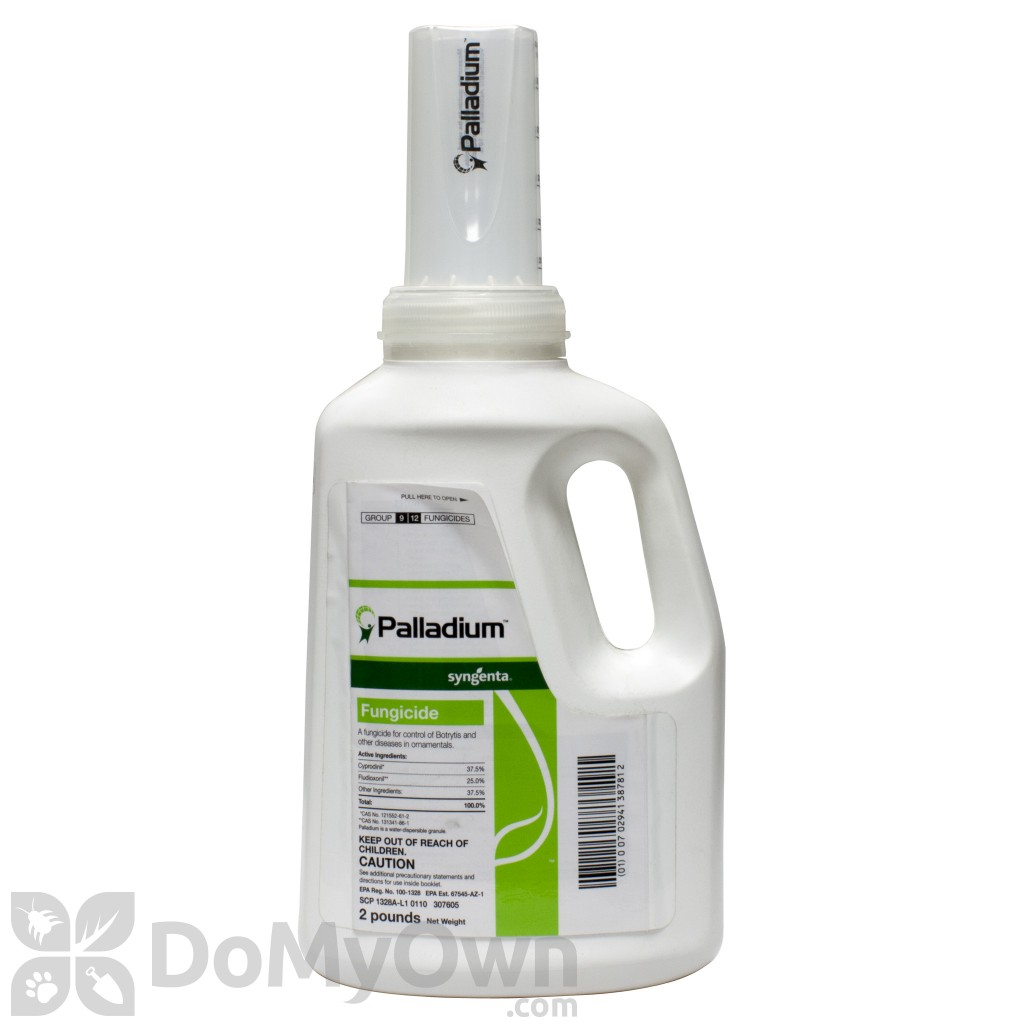
Decay fungi (“mold”) –
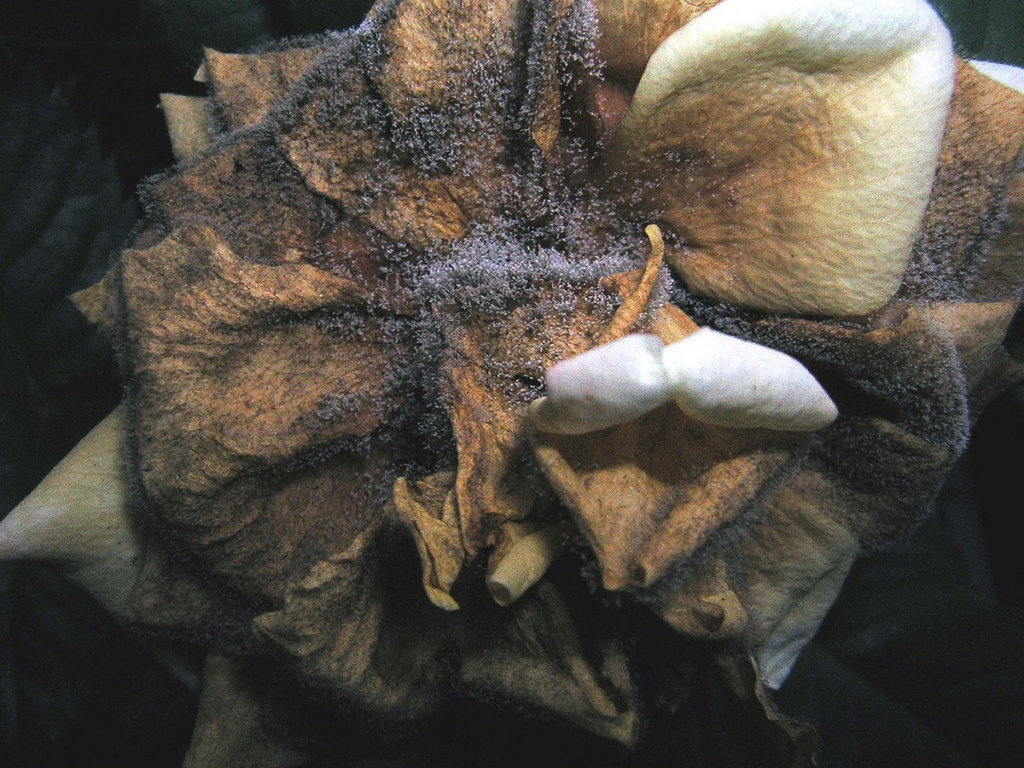
Botrytis – damages plants that are in high and prolonged humidity.
The rot spreads in the plant like mold and appears in some parts of the plant.
Don’t wet the plant and allow the leaves to dry during the day.
Recommended treatment:
Chemical:
Organic:
Diplodia –
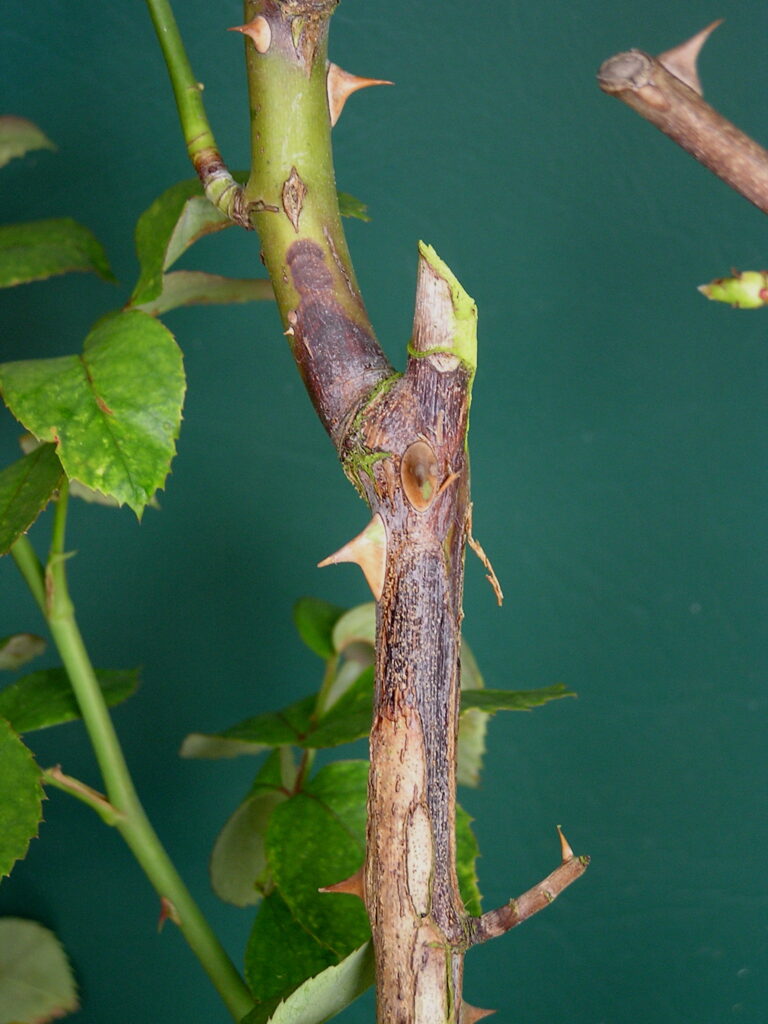
Also called Die back of rose, is a rot, sometimes mold-like, that penetrates through pruning cuts and spreads down the plant.
Decay in pruned branches that spreads downwards.
Happens usually near lawns due to watering the lawn with a sprinkler.
Recommended treatment:
Prevention – the incisions should be applied after pruning, with pruning ointment.
At the onset of the disease – remove with sharp scissors the section of the infected branch.
Prune to a place in the branch where there are no dark signs of damage to the center of the branch.
Disinfect scissors with bleach or alcohol before cutting each different branch.
Black spot
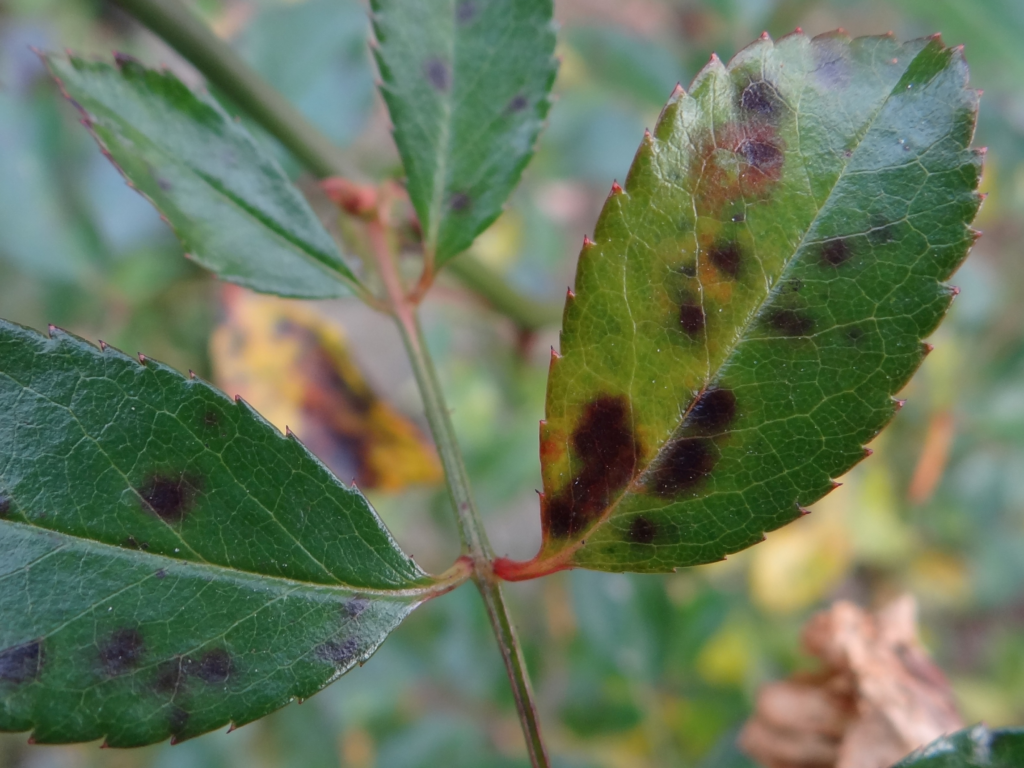
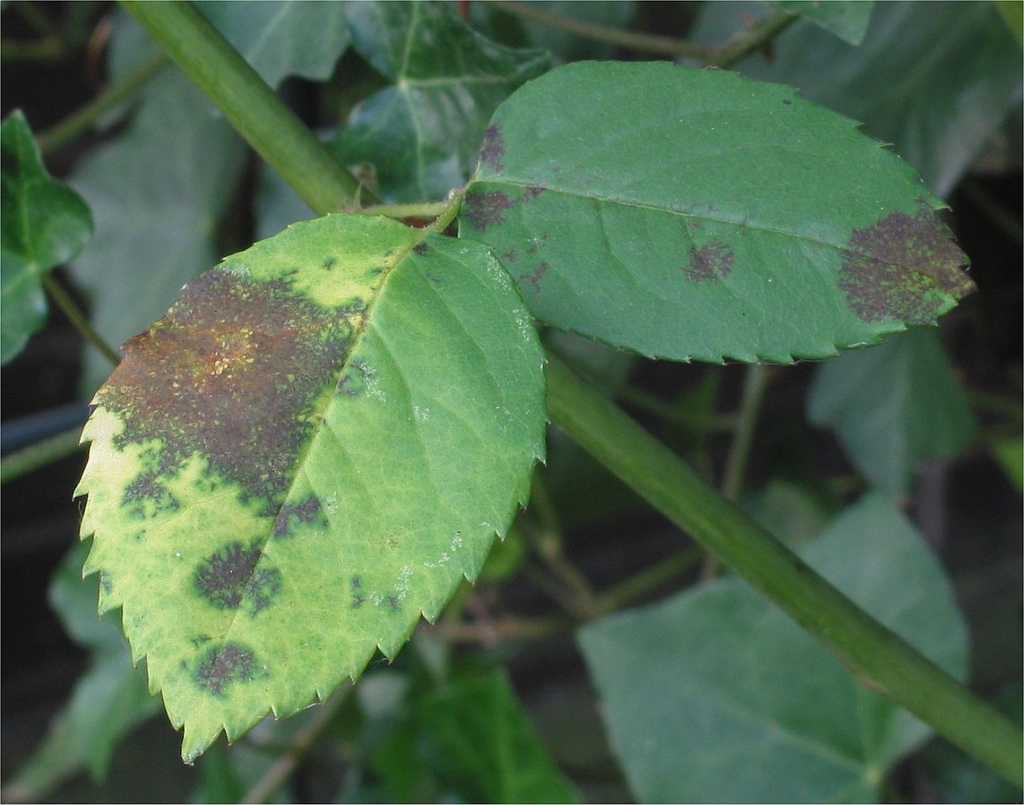
A fungus that develops on the foliage in humid and heat conditions.
the most serious disease of roses.
It is caused by a fungus called Diplocarpon rosae.
Recommended treatment:
Chemical:

Organic:

Pests in roses
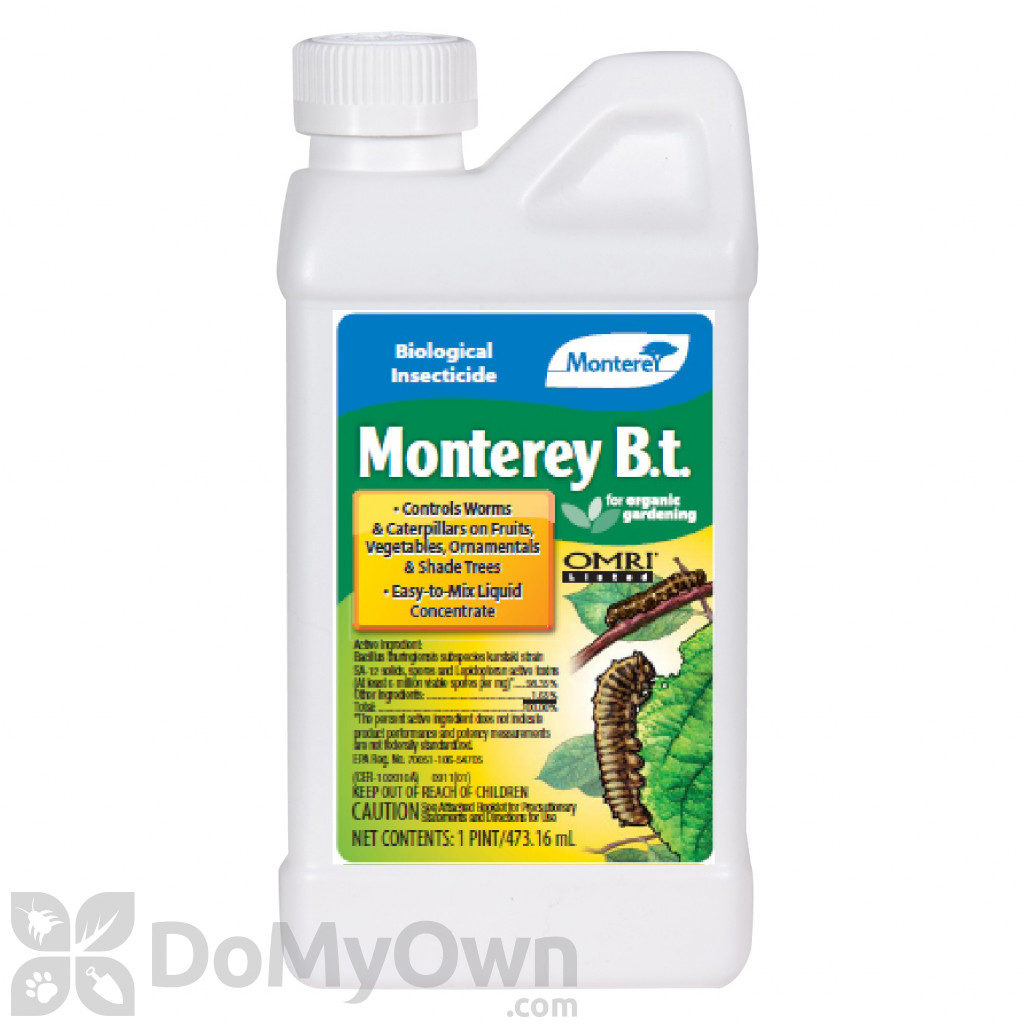
Butterfly larvae and moths –
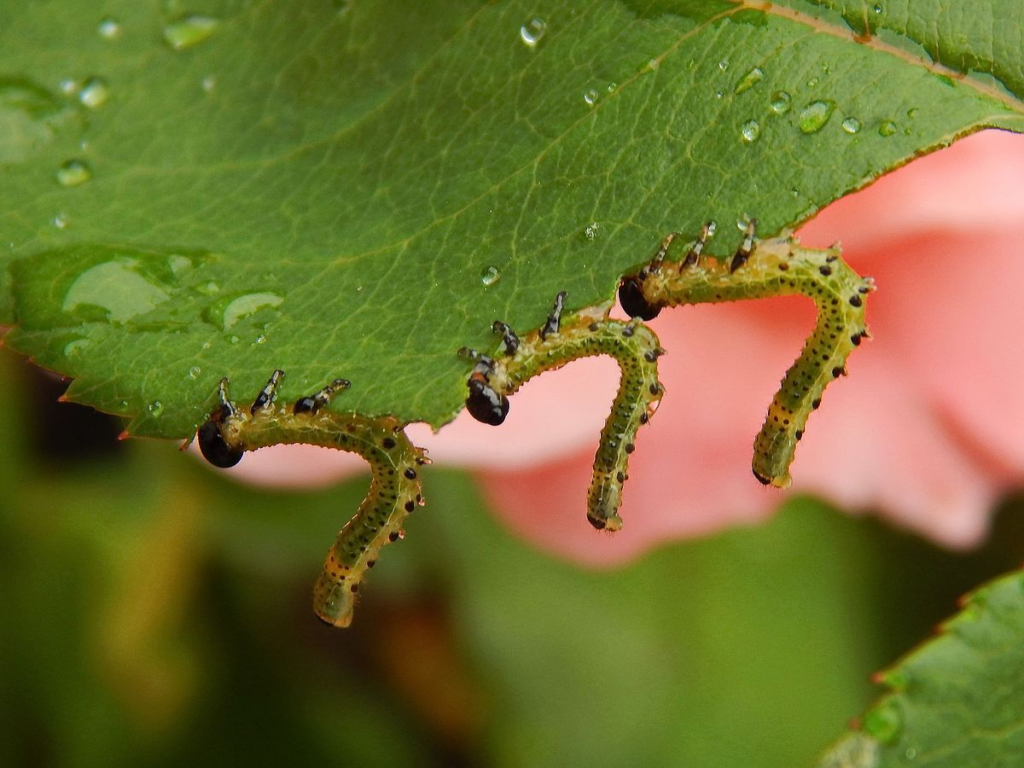
Caterpillars eat the leaves. During the day the larvae may be found at the base of the leaves.
Most moth larvae (Cutworms and Hornworms) when they are adolescents, they go down to take shelter in the ground from the heat of the day.
First, it is recommended to collect the larvae by hand and remove them.
Recommended treatment:
Chemical:
Organic:
Beetles
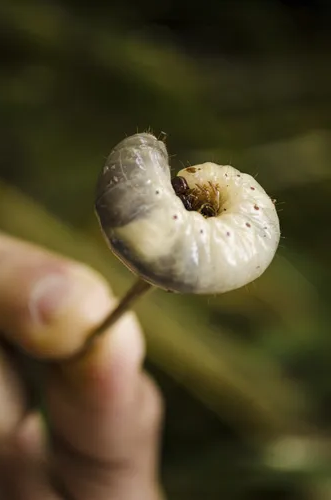
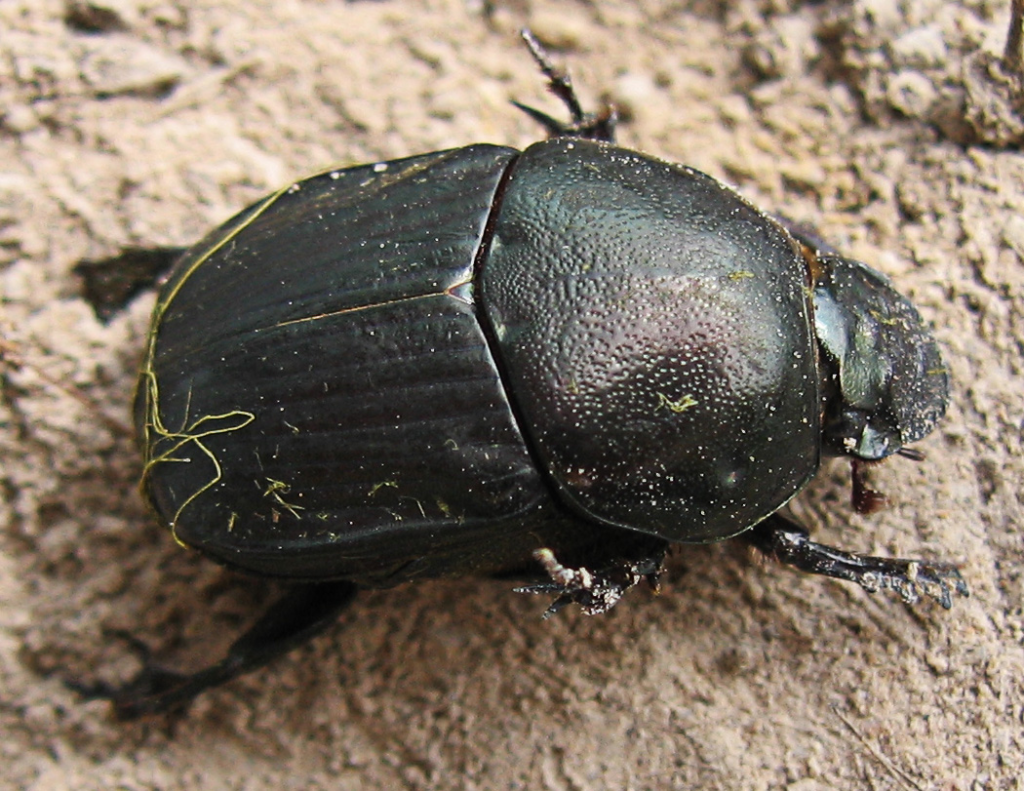
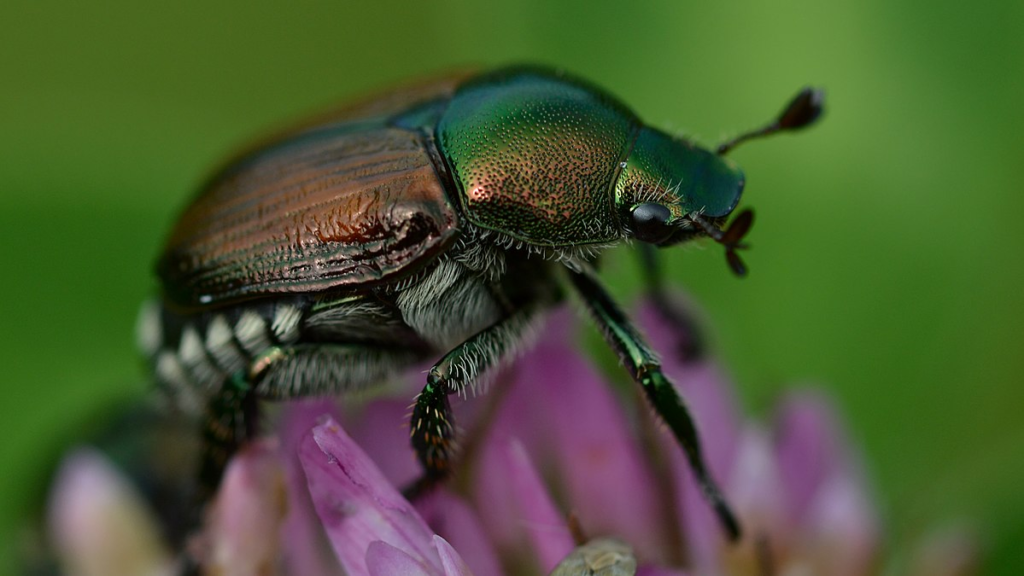
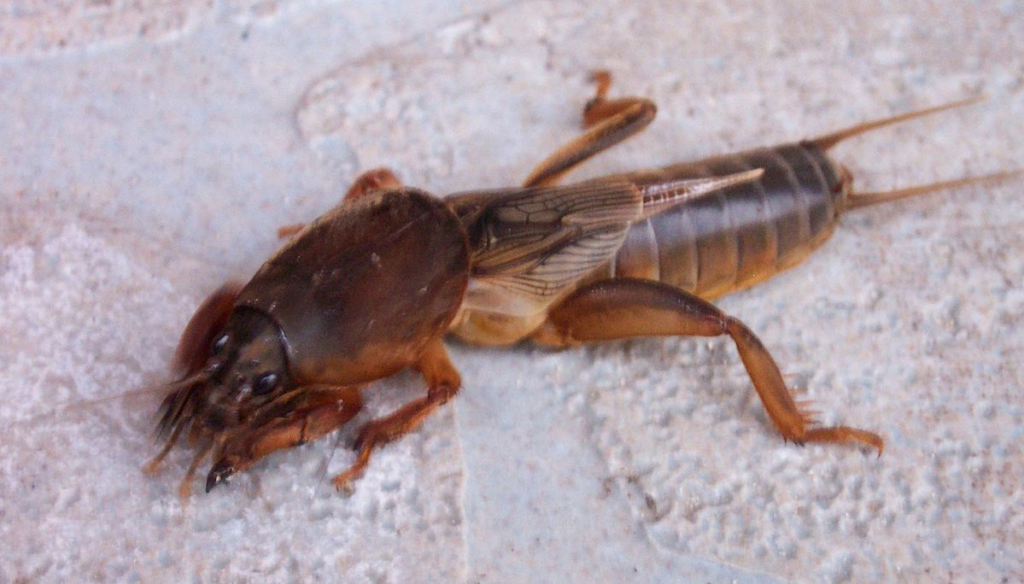
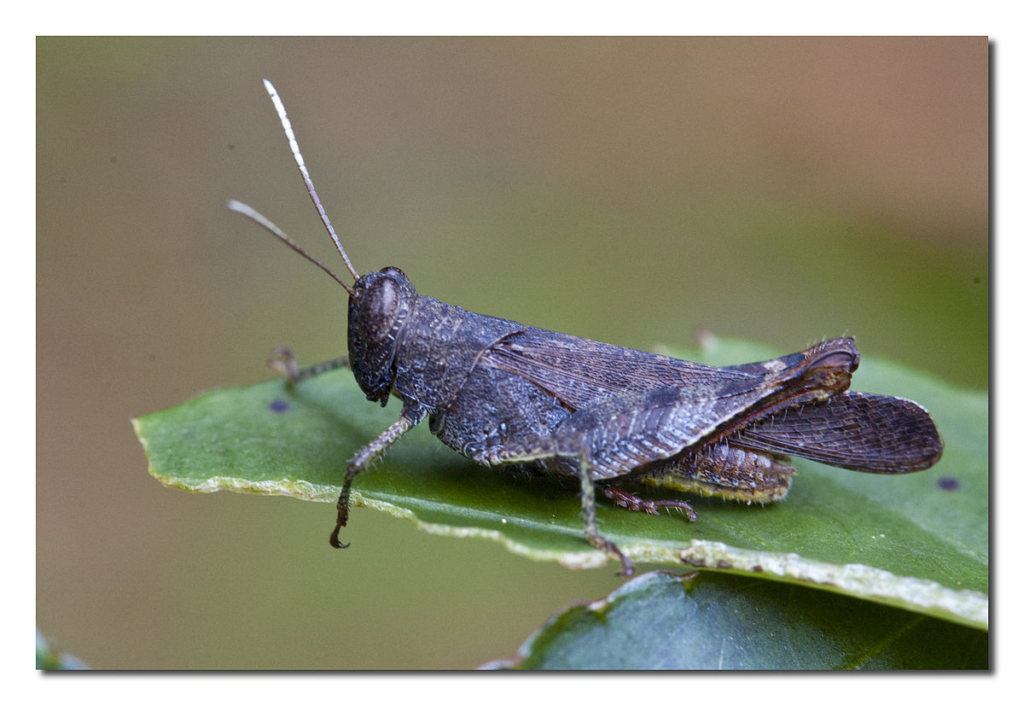
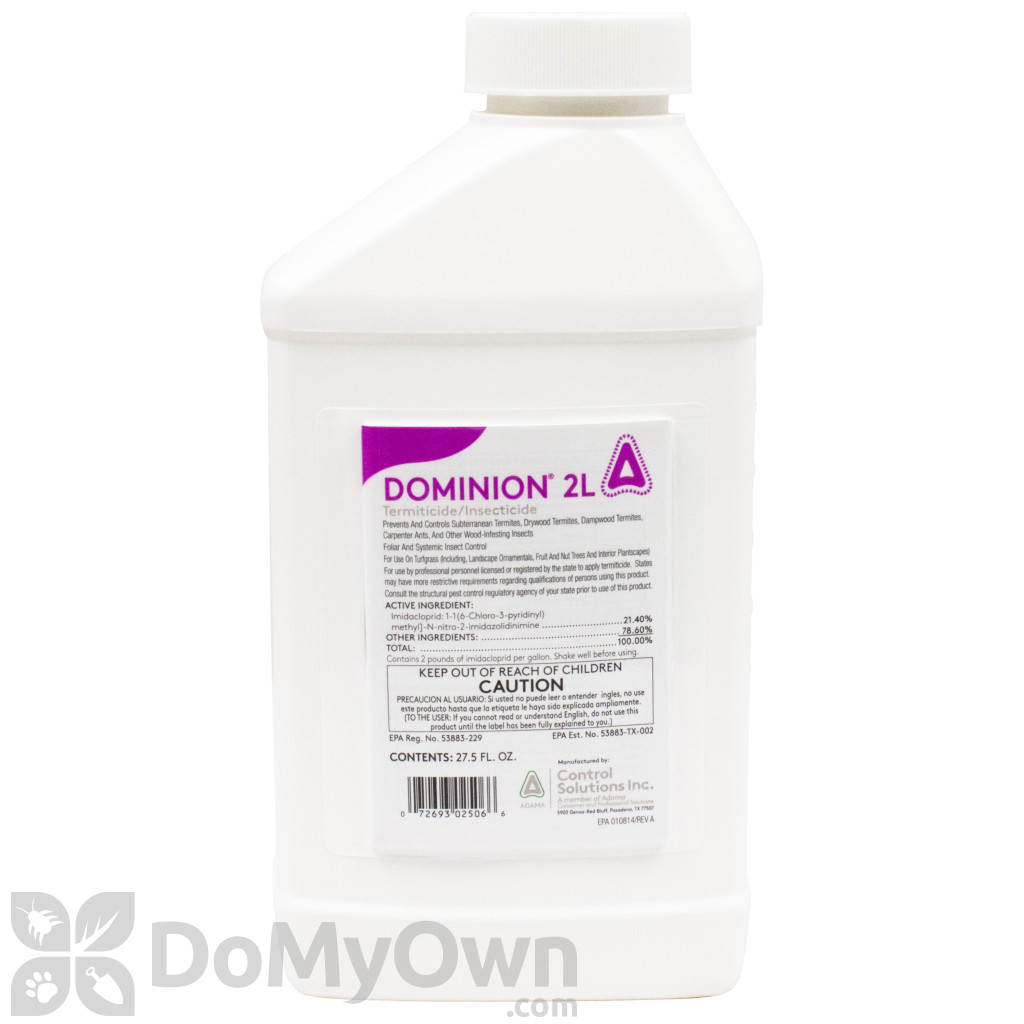
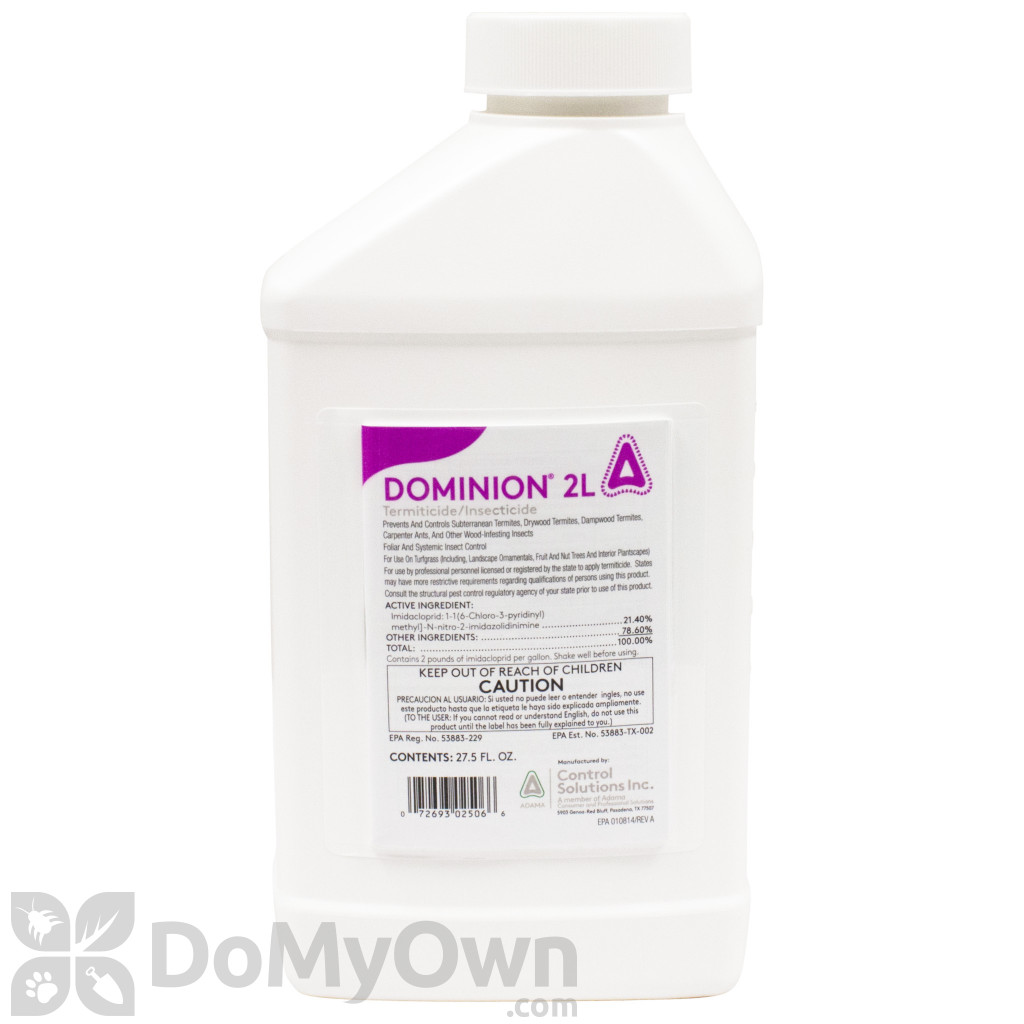
Dung beetle larvae, Japanese Beetle and various grasshoppers (such as: Gryllotalpa, crickets, etc.) – appear to gnaw at the stem bark, roots, root neck and later reach the leaves.
Recommended treatment:
Chemical:
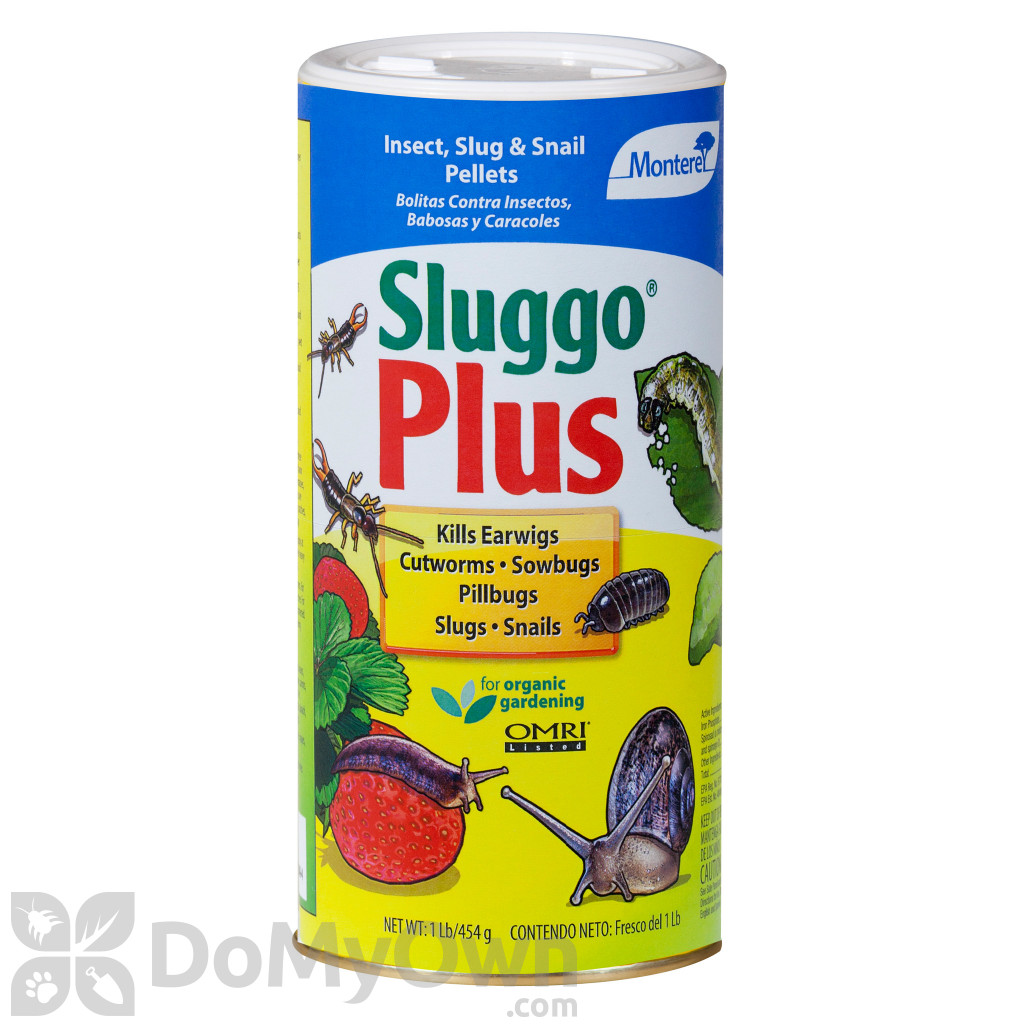
Snails –

Rarely, snails or slugs (shell-less snails), eat the leaf centers and bark of green stems.
Recommended treatment:
Dig a pit width of 10-15 cm, put a large glass or plastic jar in it.
When it is at zero height with the ground, pour a bit of beer into it, place 4 small stones around the pit and on them a small piece of wood.
The yeasty smell of the beer attracts the snails and they fall into the jar and drown.
Organic:
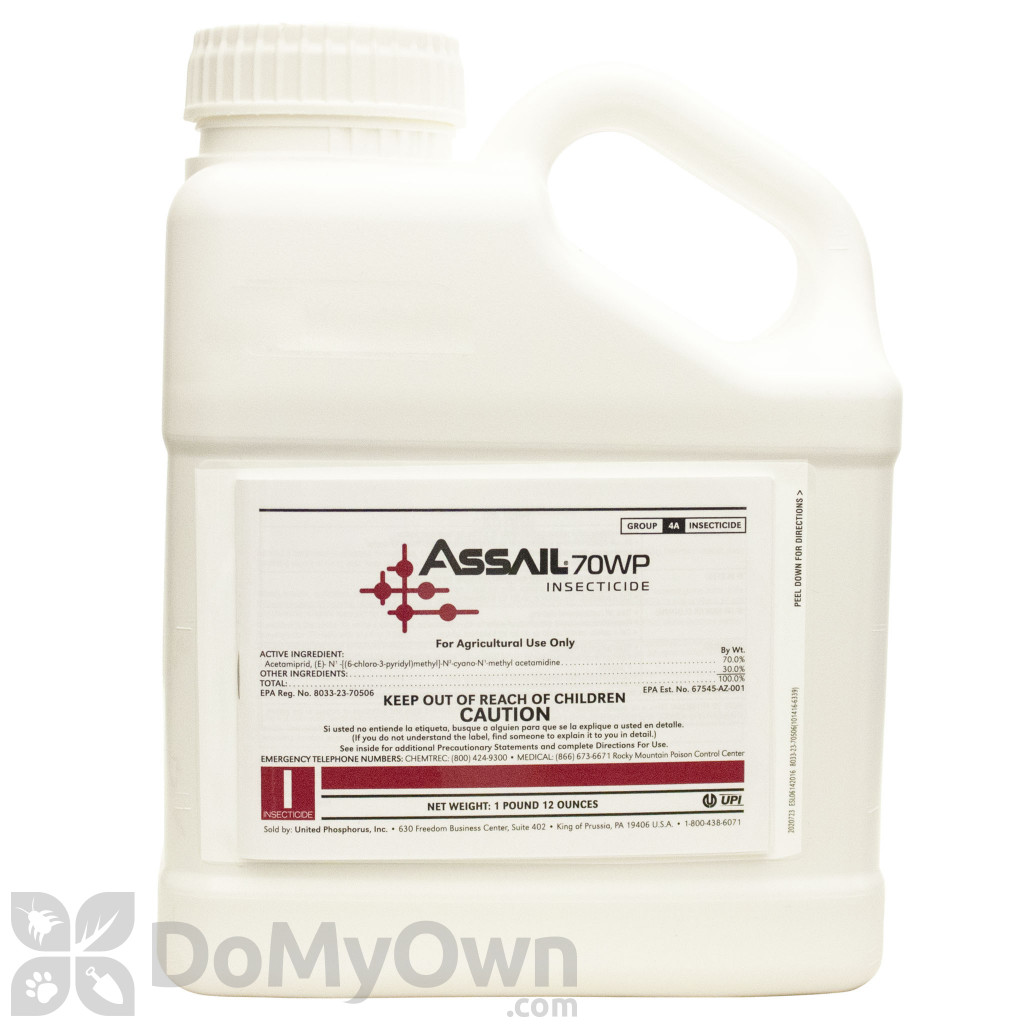
Aphids –
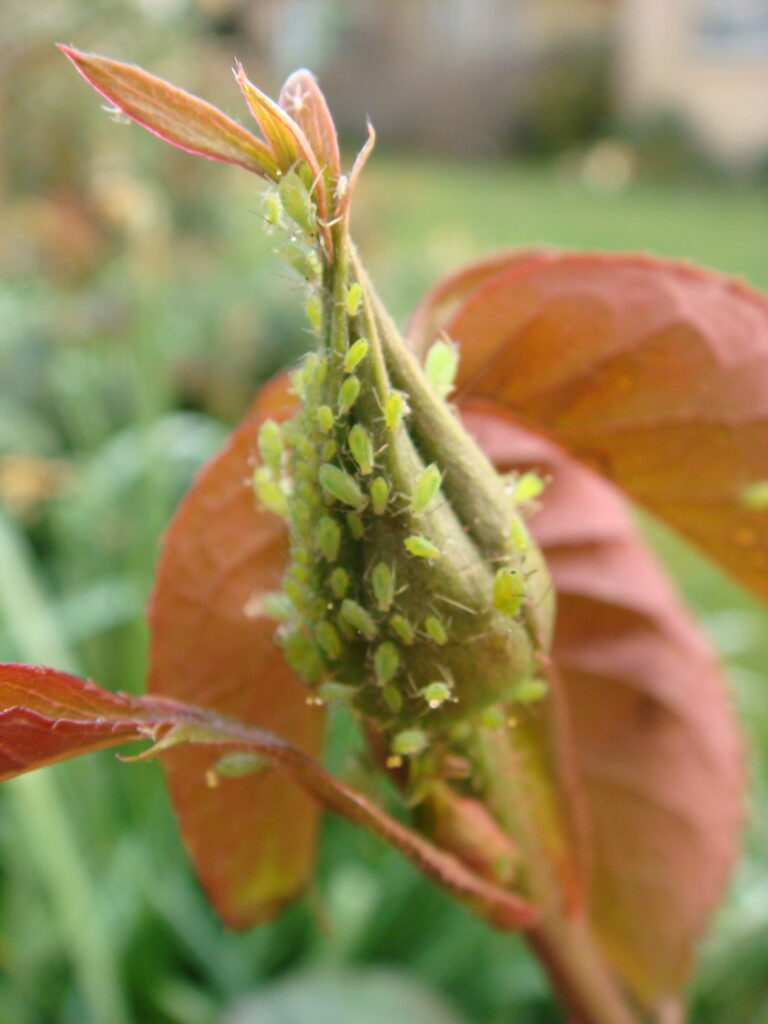
Tiny insects (up to 2-3 mm in size) that appear on the young bloom and around the inflorescences.
They suck the leaves. The color of the young is green-yellow.
Usually, ants climb from the soil to the “aphid colonies”.
The secretion of aphids is sweet and serves as food for them.
The sweet secretion can also encourage the existence of soot on the leaves.
Recommended treatment:
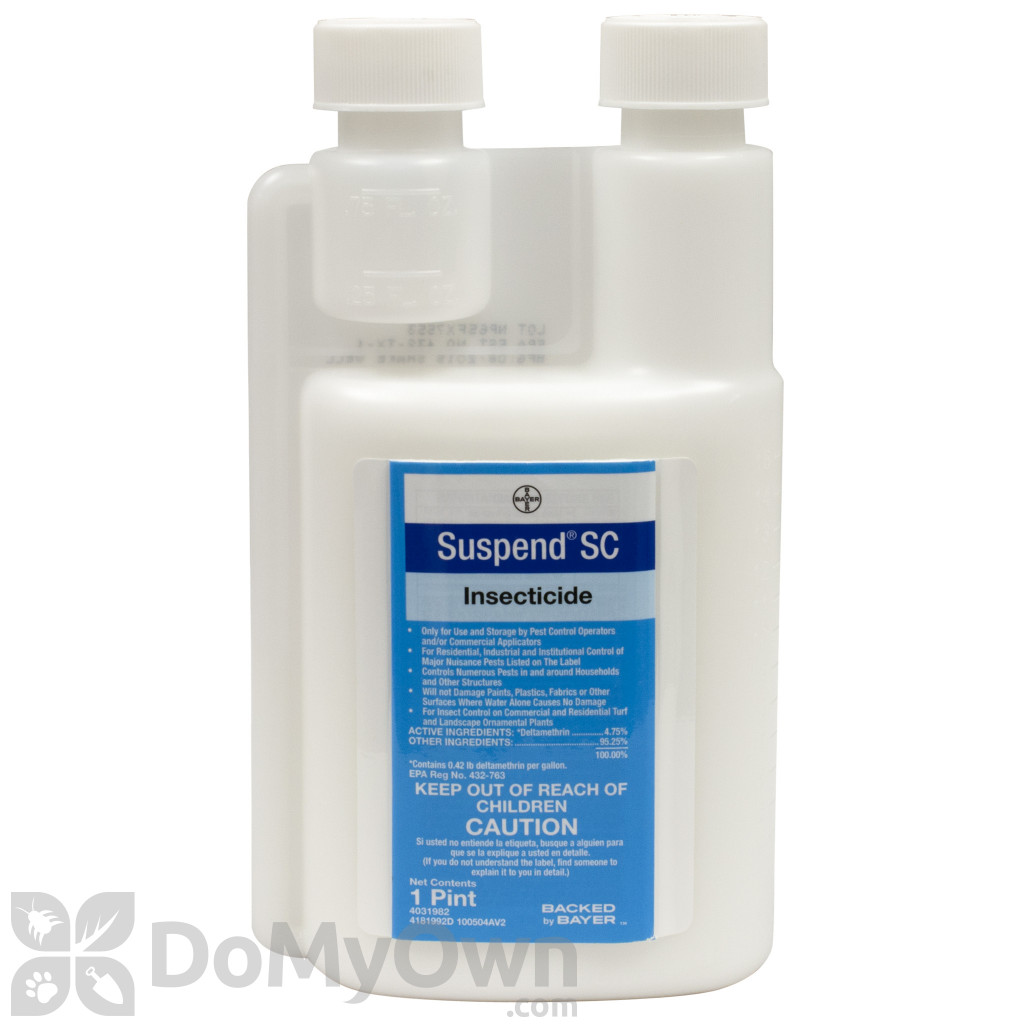
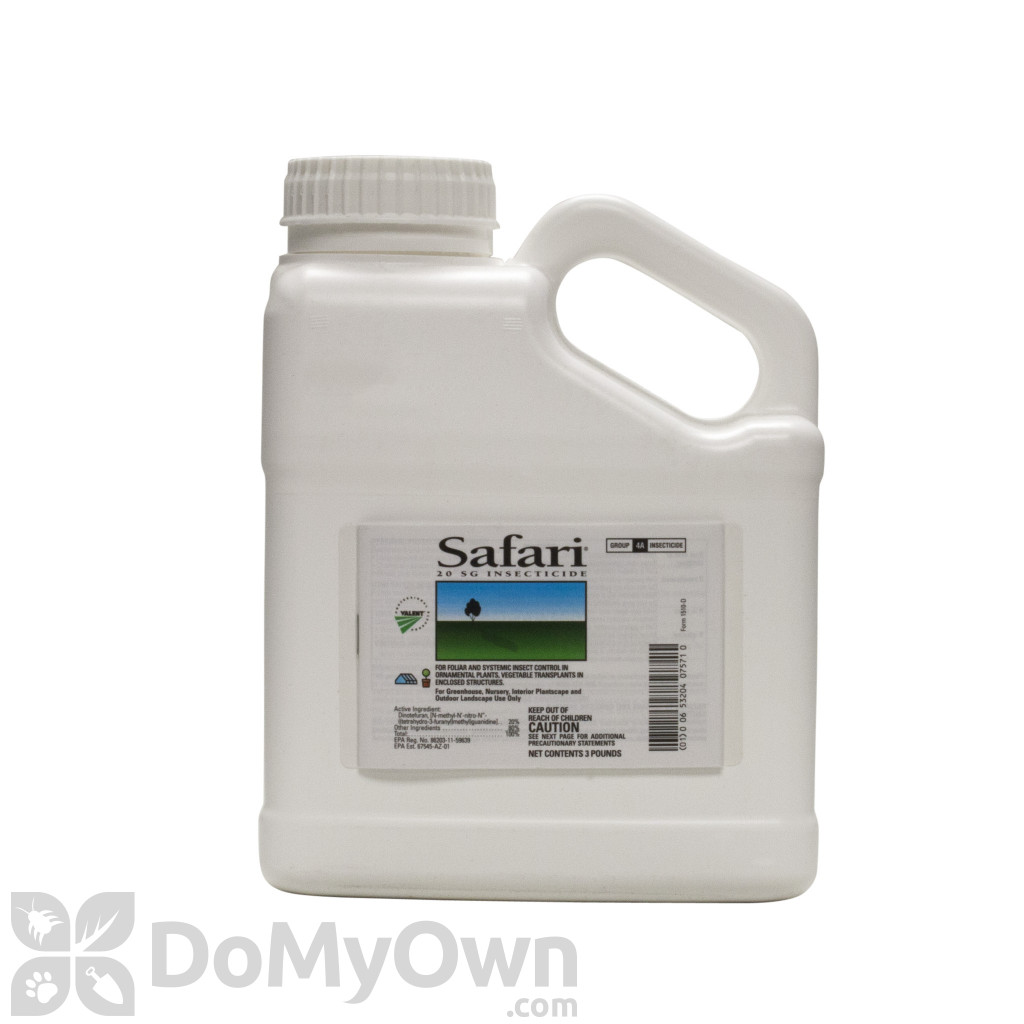
Chemical:
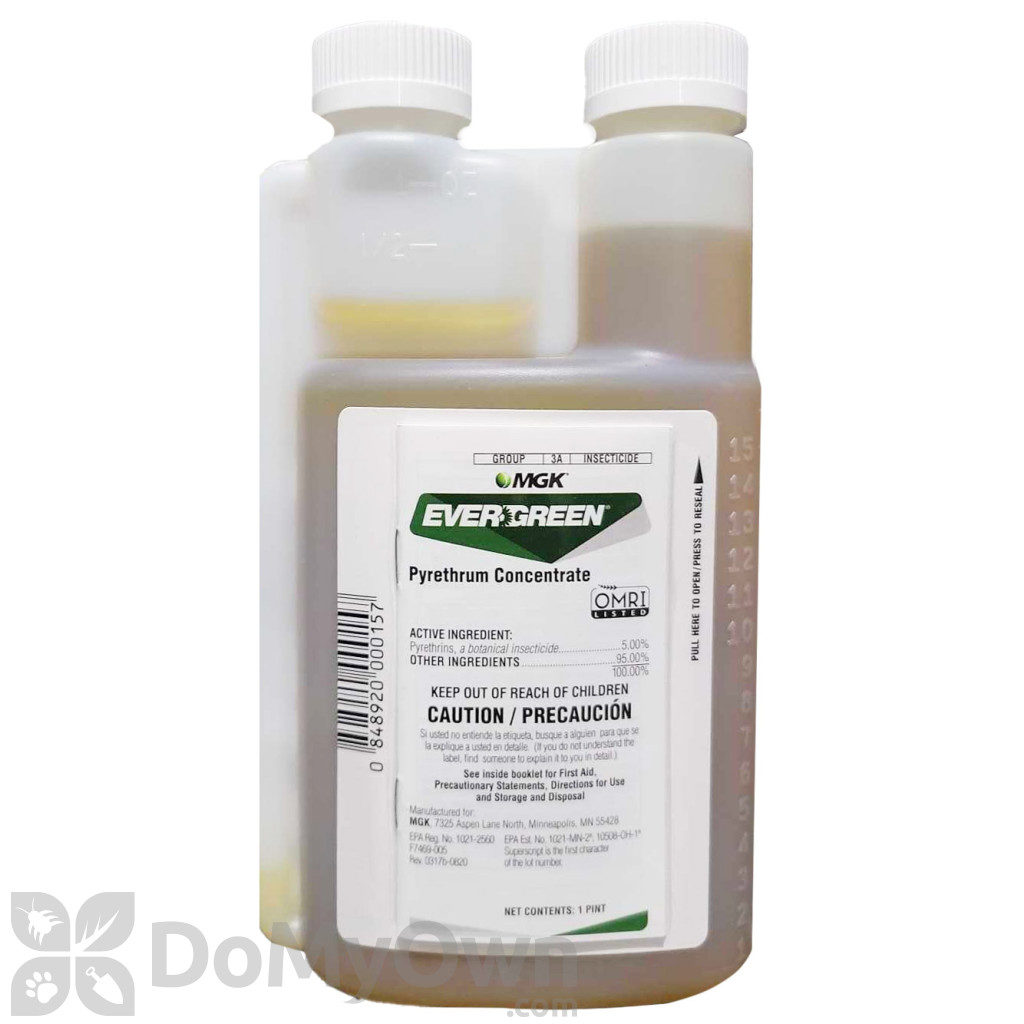
Organic:
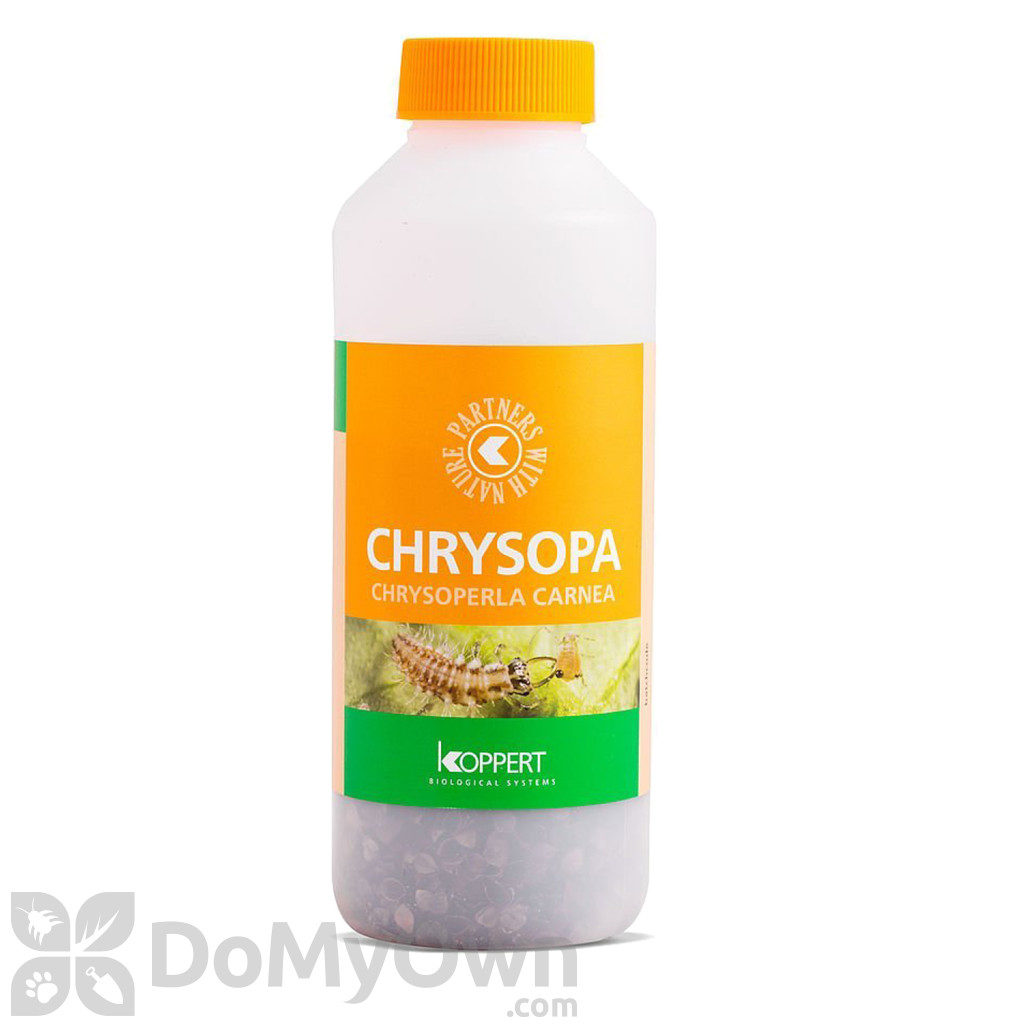
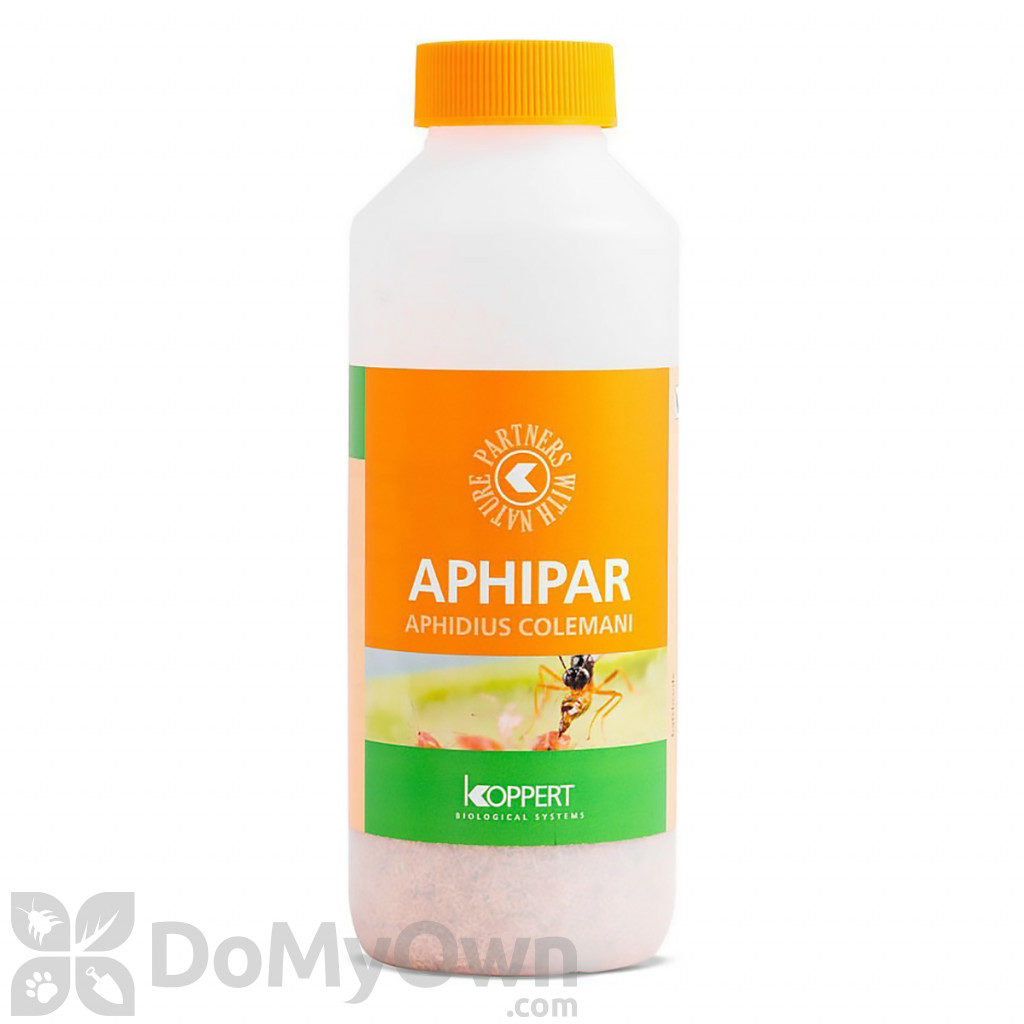
Biological:
White fly –

Light spots appear on the leaves and there are tiny insects that are found at the bottom of the leaves and fly in groups when the plant is moved.
Their main harm is in transmitting viruses from infected plants to healthy ones.
Recommended treatment:
Chemical:
Organic:
Biological:

Mealybugs –
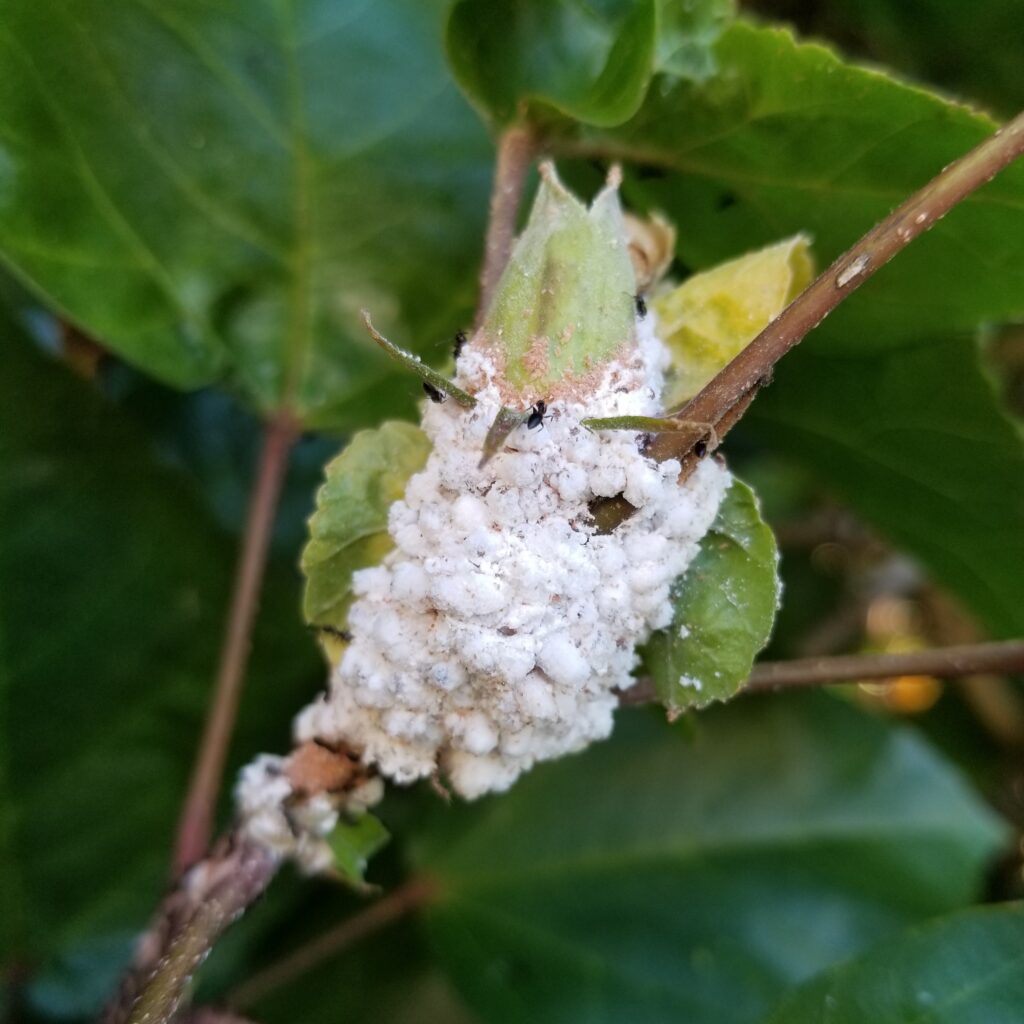
Some types of aphids are wrapped in white or gray wax, resembling wool.
The aphids sit in concentrated colonies, around the root neck, or in the lap of the leaves or along the arteries at the base of the leaf.
Their movement is quite slow.
As a result of the sucking, different parts of the plant may dry out.
Later in the attack the whole plant may die.
Recommended treatment:
Chemical:
Organic:
Biological:

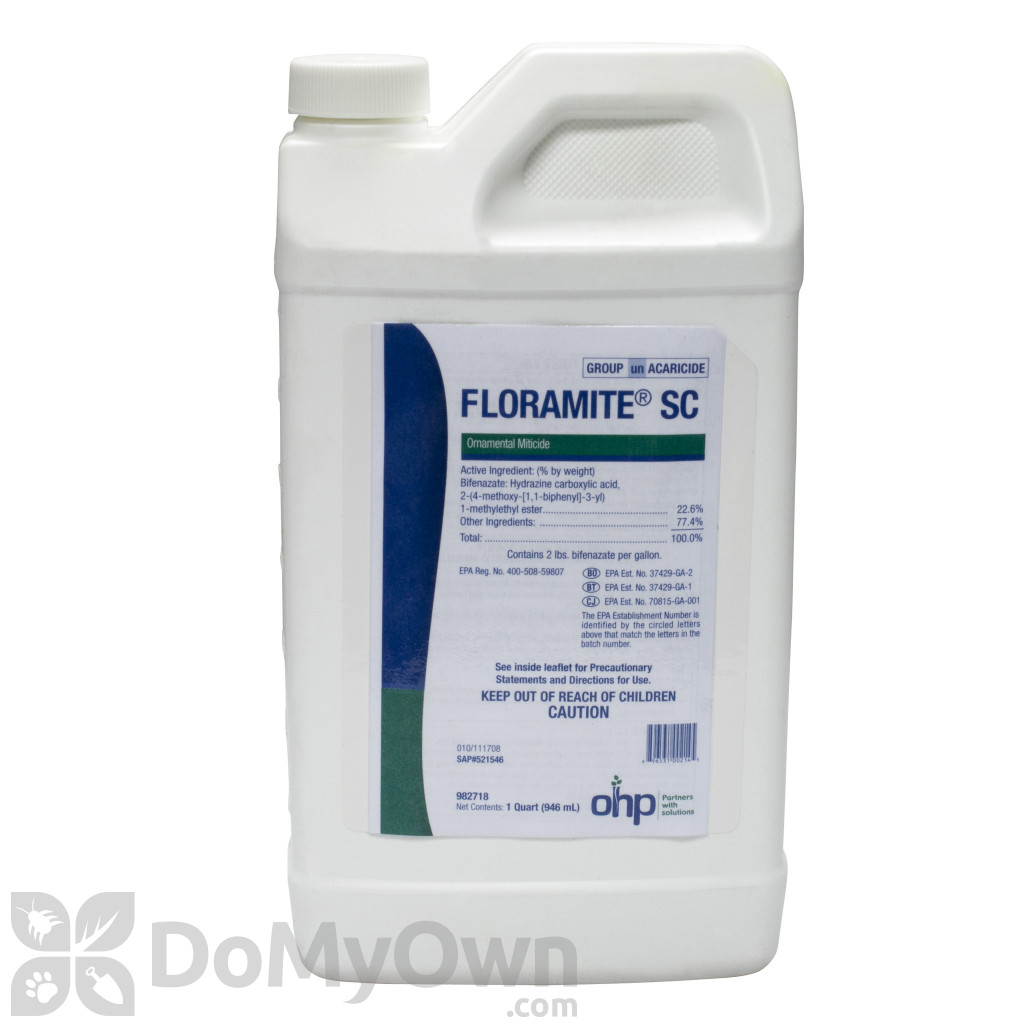
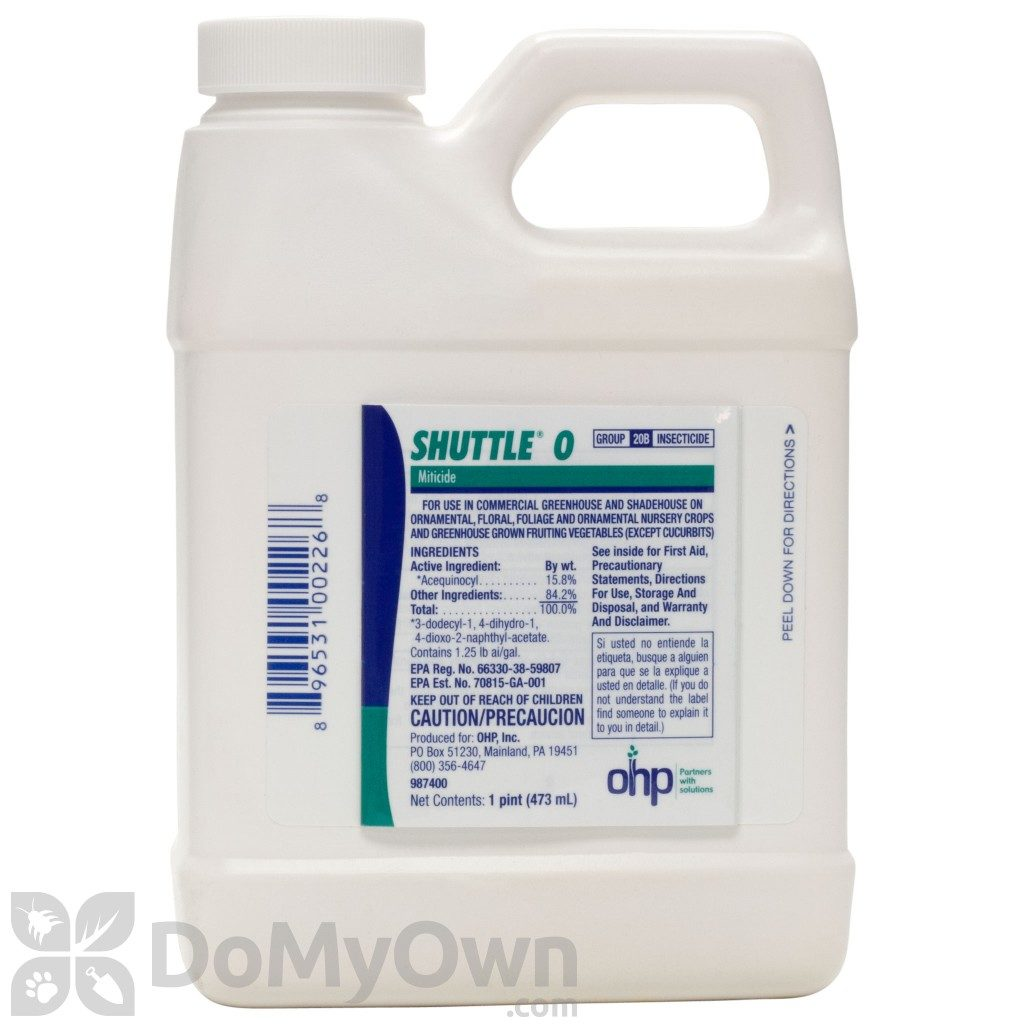
Red spider mites –

Bright webs, visible on the underside of the yellowing leaves that also have sucking marks on them.
On the surface of the leaf and on its lower side are small, agile spiders up to a size of about 1 mm.
Their color is yellow-orange or dark red-brown.
As a result of sucking, the leaves fall off.
In prolonged attack, the plant may die.
Recommended treatment:
Chemical:
Organic:
Biological:

Thrips –


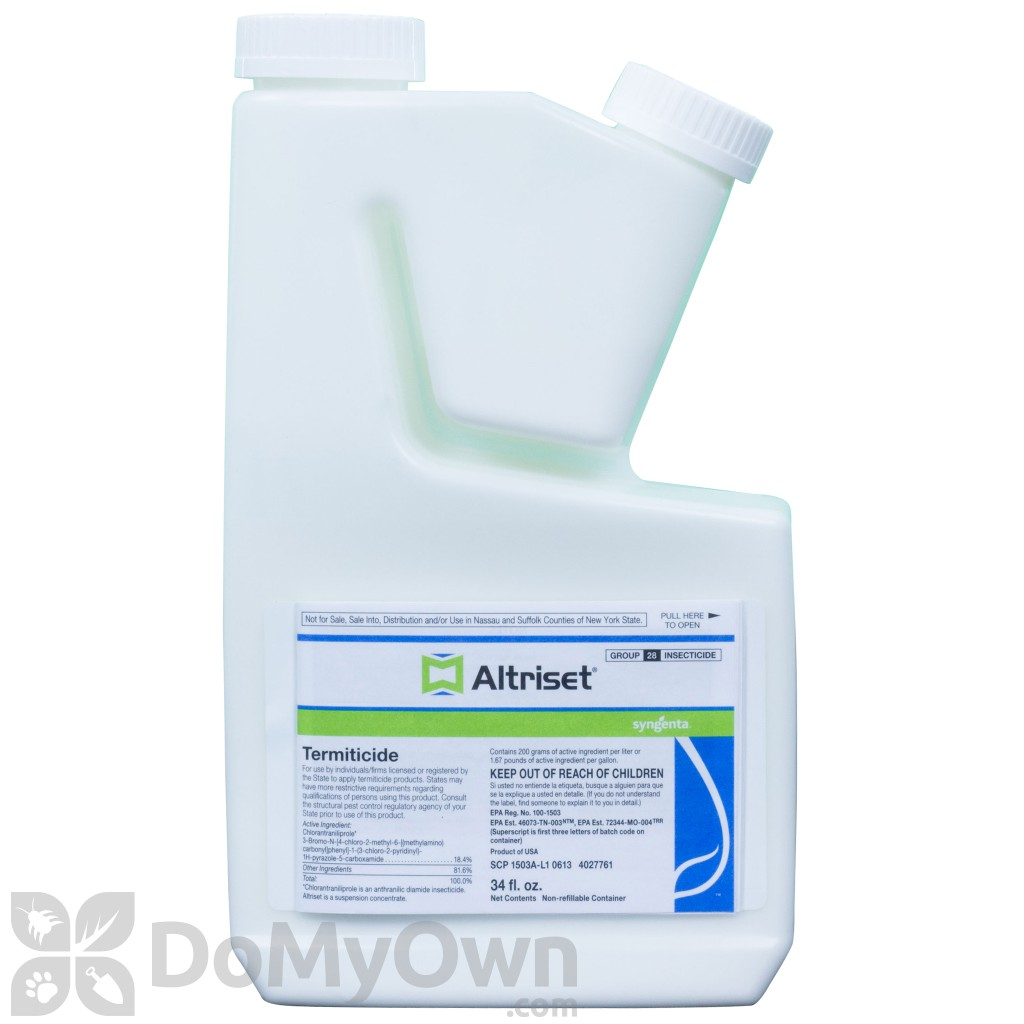
Causes deformities in leaves and buds, in addition to leaf shedding, the young growth may be stopped, and sometimes leaf spots are added as a result of the transmission of viruses by the flying thrips.
Recommended treatment:
Chemical:
Organic:
Biological:
You may also be interested in these articles:
- Slow-Release Fertilizers for Trees and Shrubs
- Fertilizing Flowers vs. Turf Nuances
- Fertilizing Flowers versus Vegetables in Your Garden
- Soil Testing, Crop Soil Testing, and Soil Sampling for Farmers
- DIY Soil Testing for Beginners
- Improving Soil Health with Green Manures
- Green Manures for Effective Weed Suppression
- Harnessing the Power of Green Manures to Enrich Sandy Soil
- Clay Soil Improvement
- Green Manures and their Environmental Impact
- Fertilizers for Plant Growth in Hydroponics
- Manure

